
The Dressmakers Ball 2025
Every year, the Dressmakers Ball is one of the most exciting dates on my sewing calendar — a chance to dress up, celebrate creativity, and spend the evening surrounded by fellow sewing enthusiasts who truly appreciate a handmade outfit.
I knew I wanted to wear something that felt elegant yet comfortable, something that moved beautifully and reflected my love of soft, drapey fabrics. So, the planning began…
The Fabric Find
Back in the summer, while I was teaching at Lullabee Fabrics, I spotted the most beautiful navy satin jersey. It had that perfect combination of fluid drape and subtle sheen. Knowing I’d be attending the Ball later in the year, the lovely team at Lullabee kindly gifted me 3.5 metres to make my outfit — the perfect motivation to start designing!
Plan A – a Dress
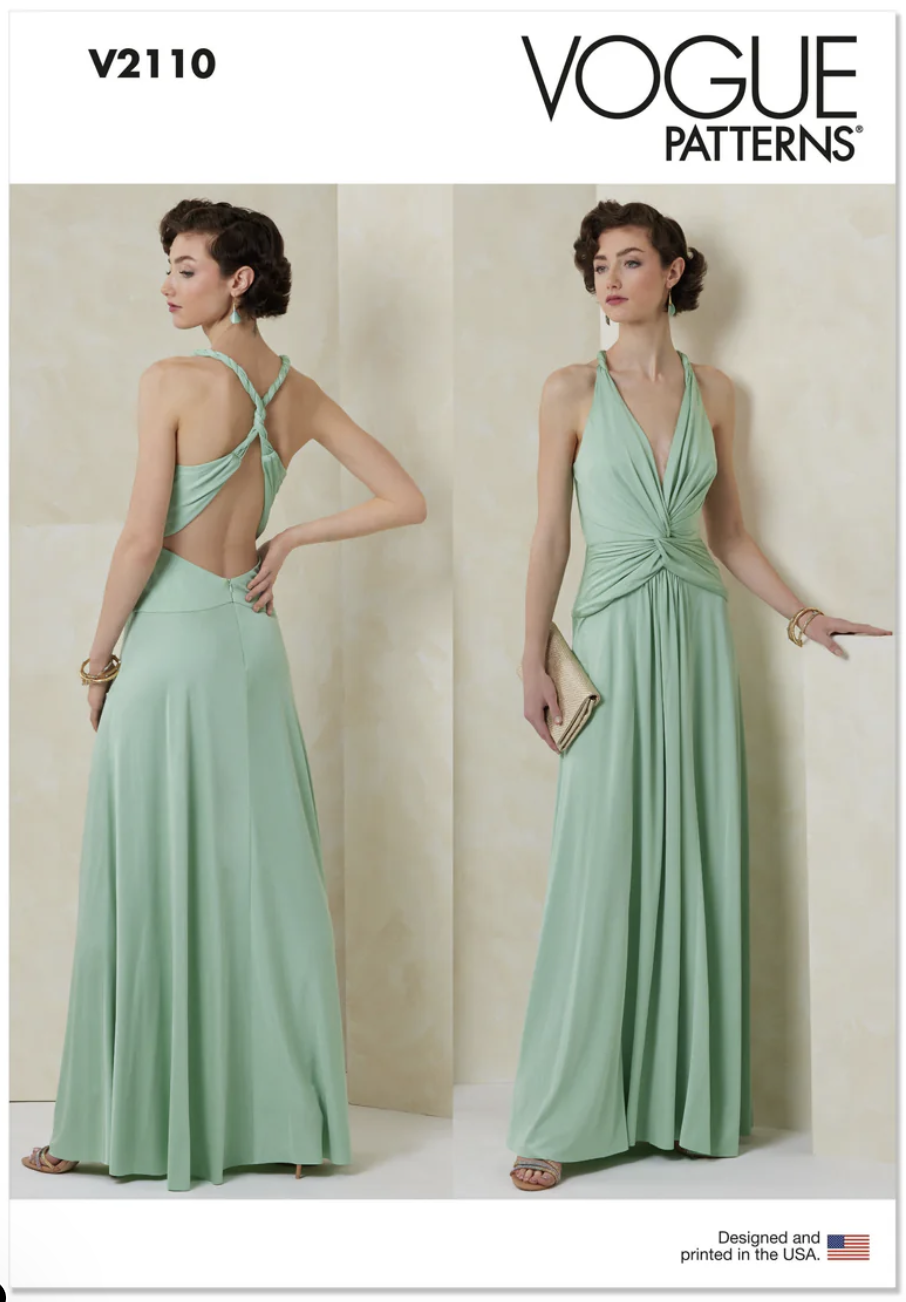
My first thought was to make a dress, and I fell in love with Vogue V2110, a stunning pattern designed for stretch fabrics. It looked elegant, timeless, and perfectly suited to my navy jersey.
I bought the pattern full of enthusiasm, but as the date of the Ball drew nearer, tutoring and classes took over and time simply disappeared. With just a couple of weeks left (and not much free sewing time), I realised that achieving the perfect fit on this dress would probably take more hours than I had.
Plan B – A Simple Jumpsuit
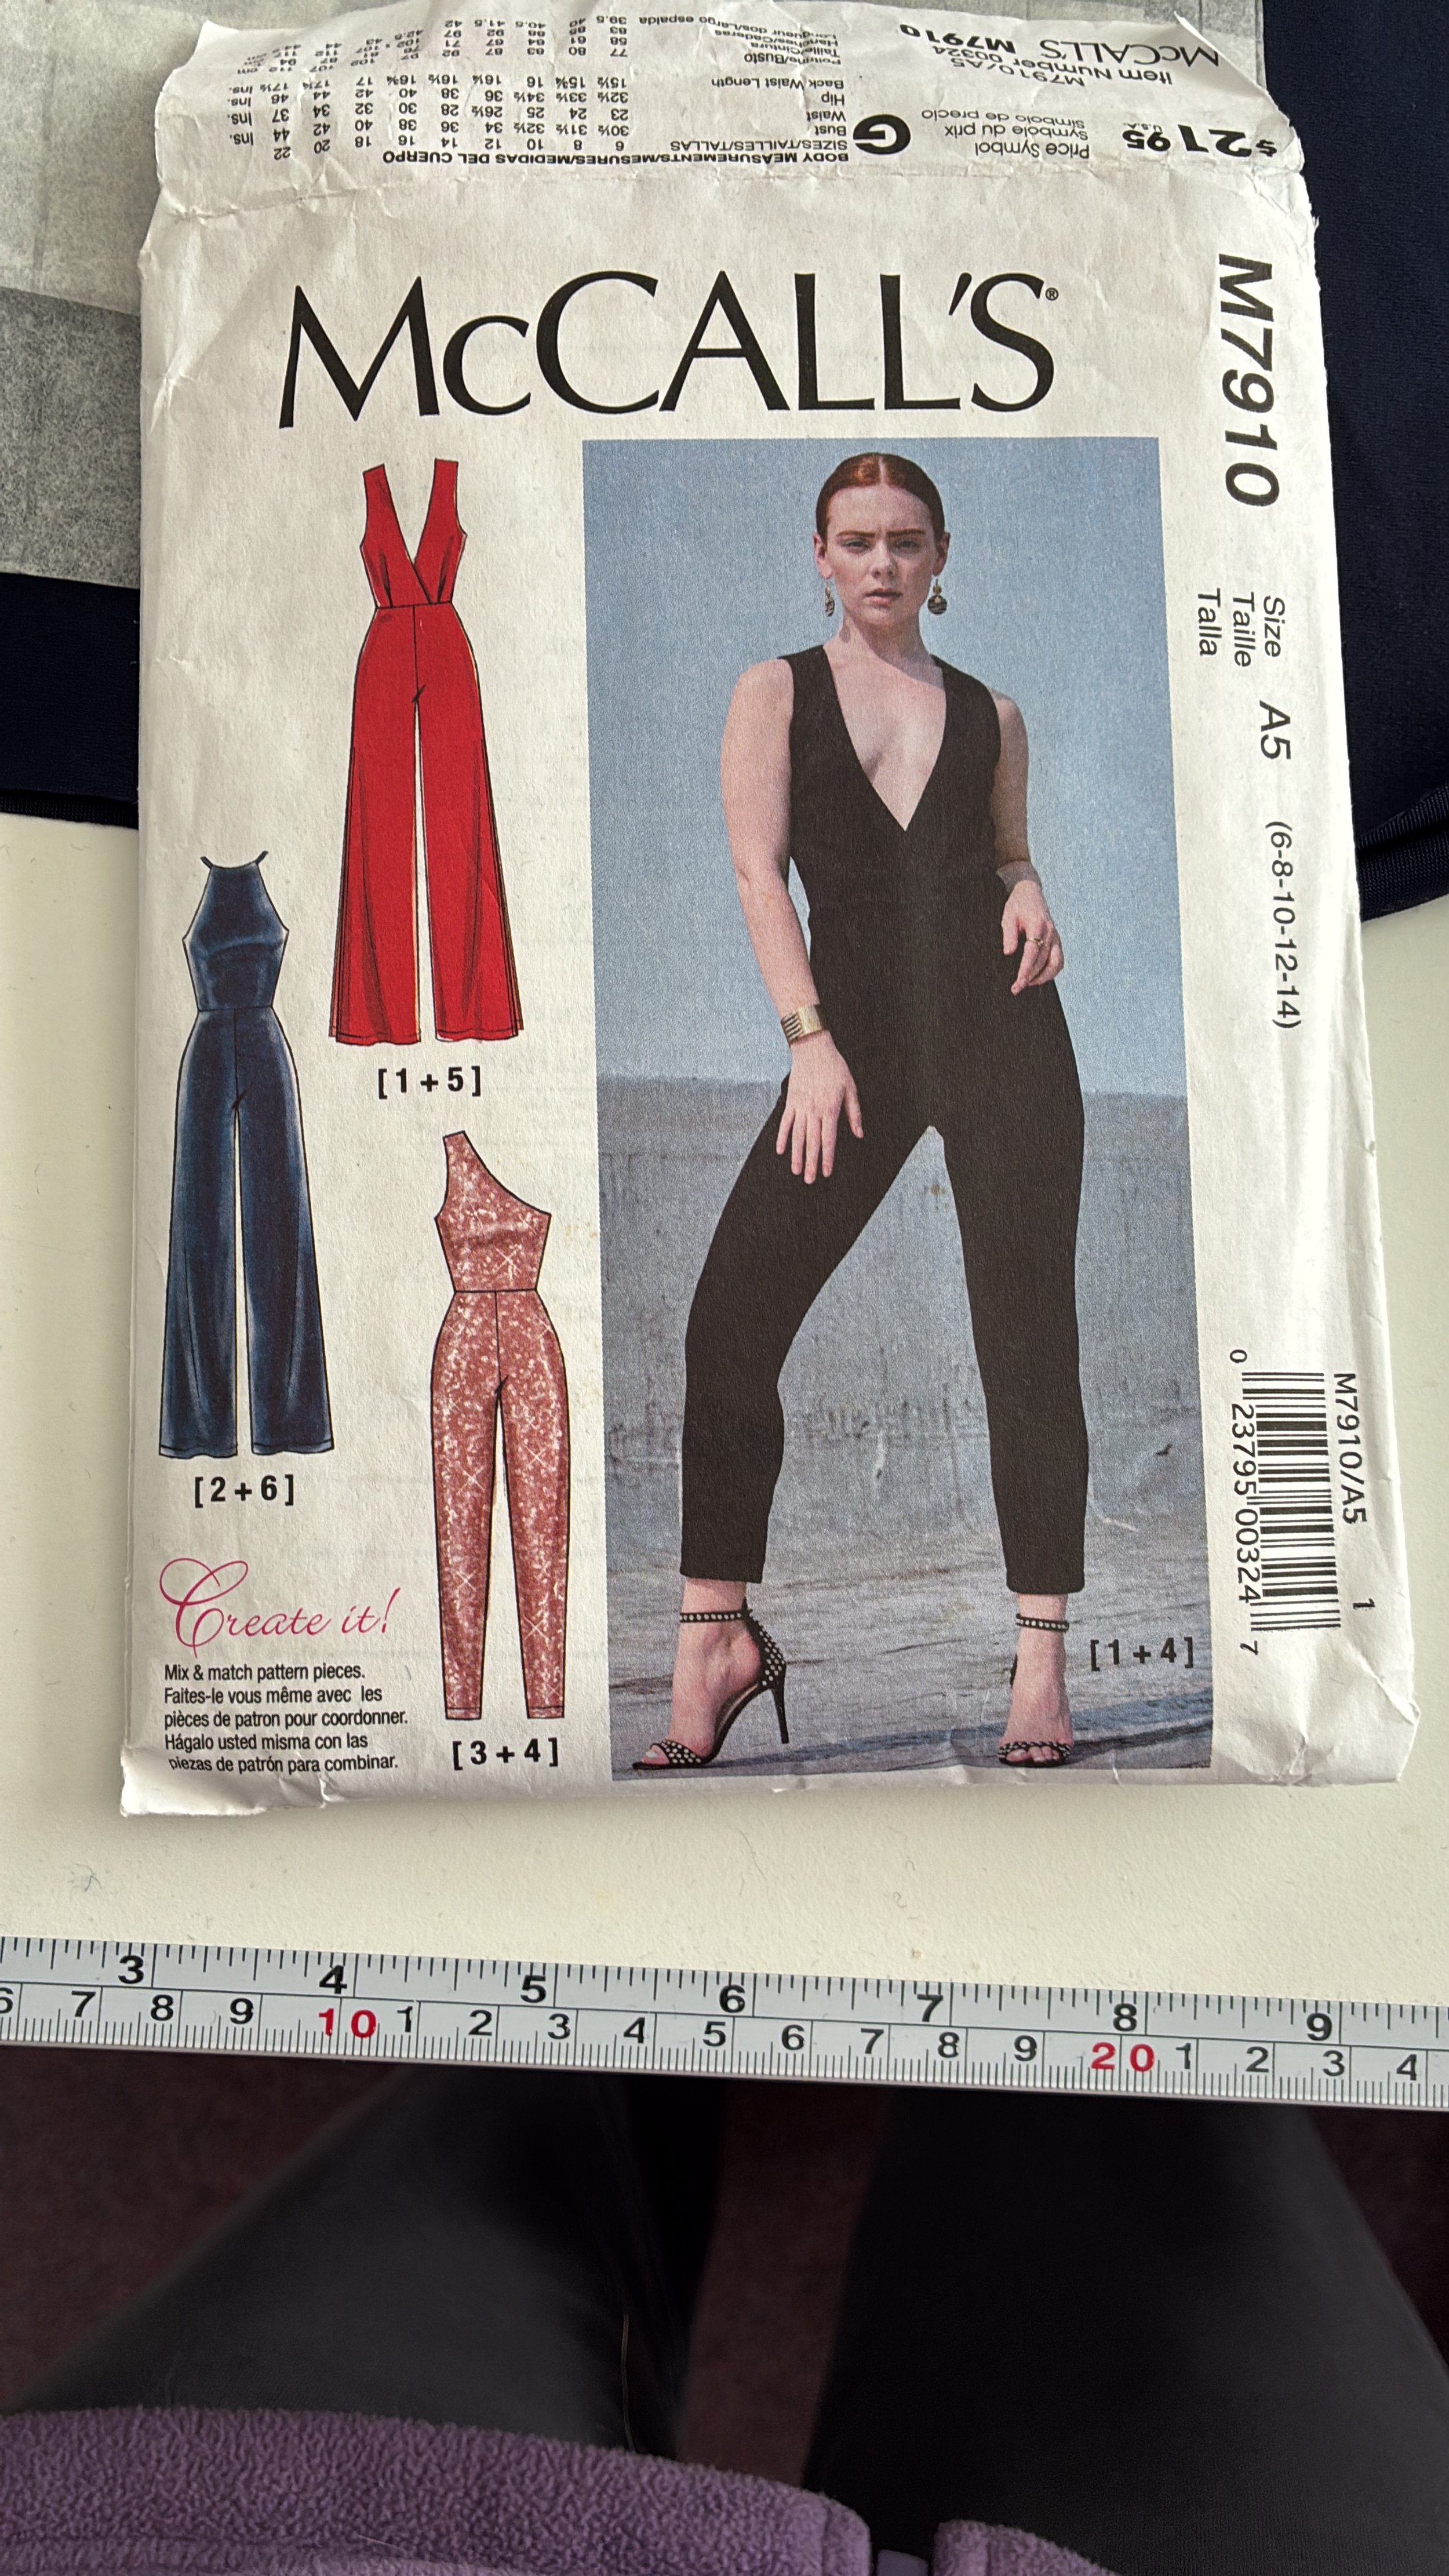
So, I went pattern shopping in my own pattern stash and came across McCalls M7910 — a simple yet stylish jumpsuit with several top and leg design options. I chose the one-shoulder bodice paired with wide-leg trousers. With just four pattern pieces, it promised a quick sew that still looked special.
Since I’d originally bought the pattern for my niece, it was in a smaller size range, so I needed to grade it up for my own body measurements:
Trousers: to a size 16 waist and 18 hips
Top: to a size 14 bust and 16 waist
Feeling confident, I made the pattern adjustments and cut straight into the fabric. I basted the top and trousers separately to check the fit.
The trousers fitted beautifully — but the fabric didn’t have quite enough stretch. The pattern has no openings and is designed to pull on, but my jersey didn’t have the required give to get over my hips!
The top, however, slipped on perfectly over my head. So, I decided to pivot my plan once again — turning the jumpsuit into a two-piece outfit.
Designing a New Top
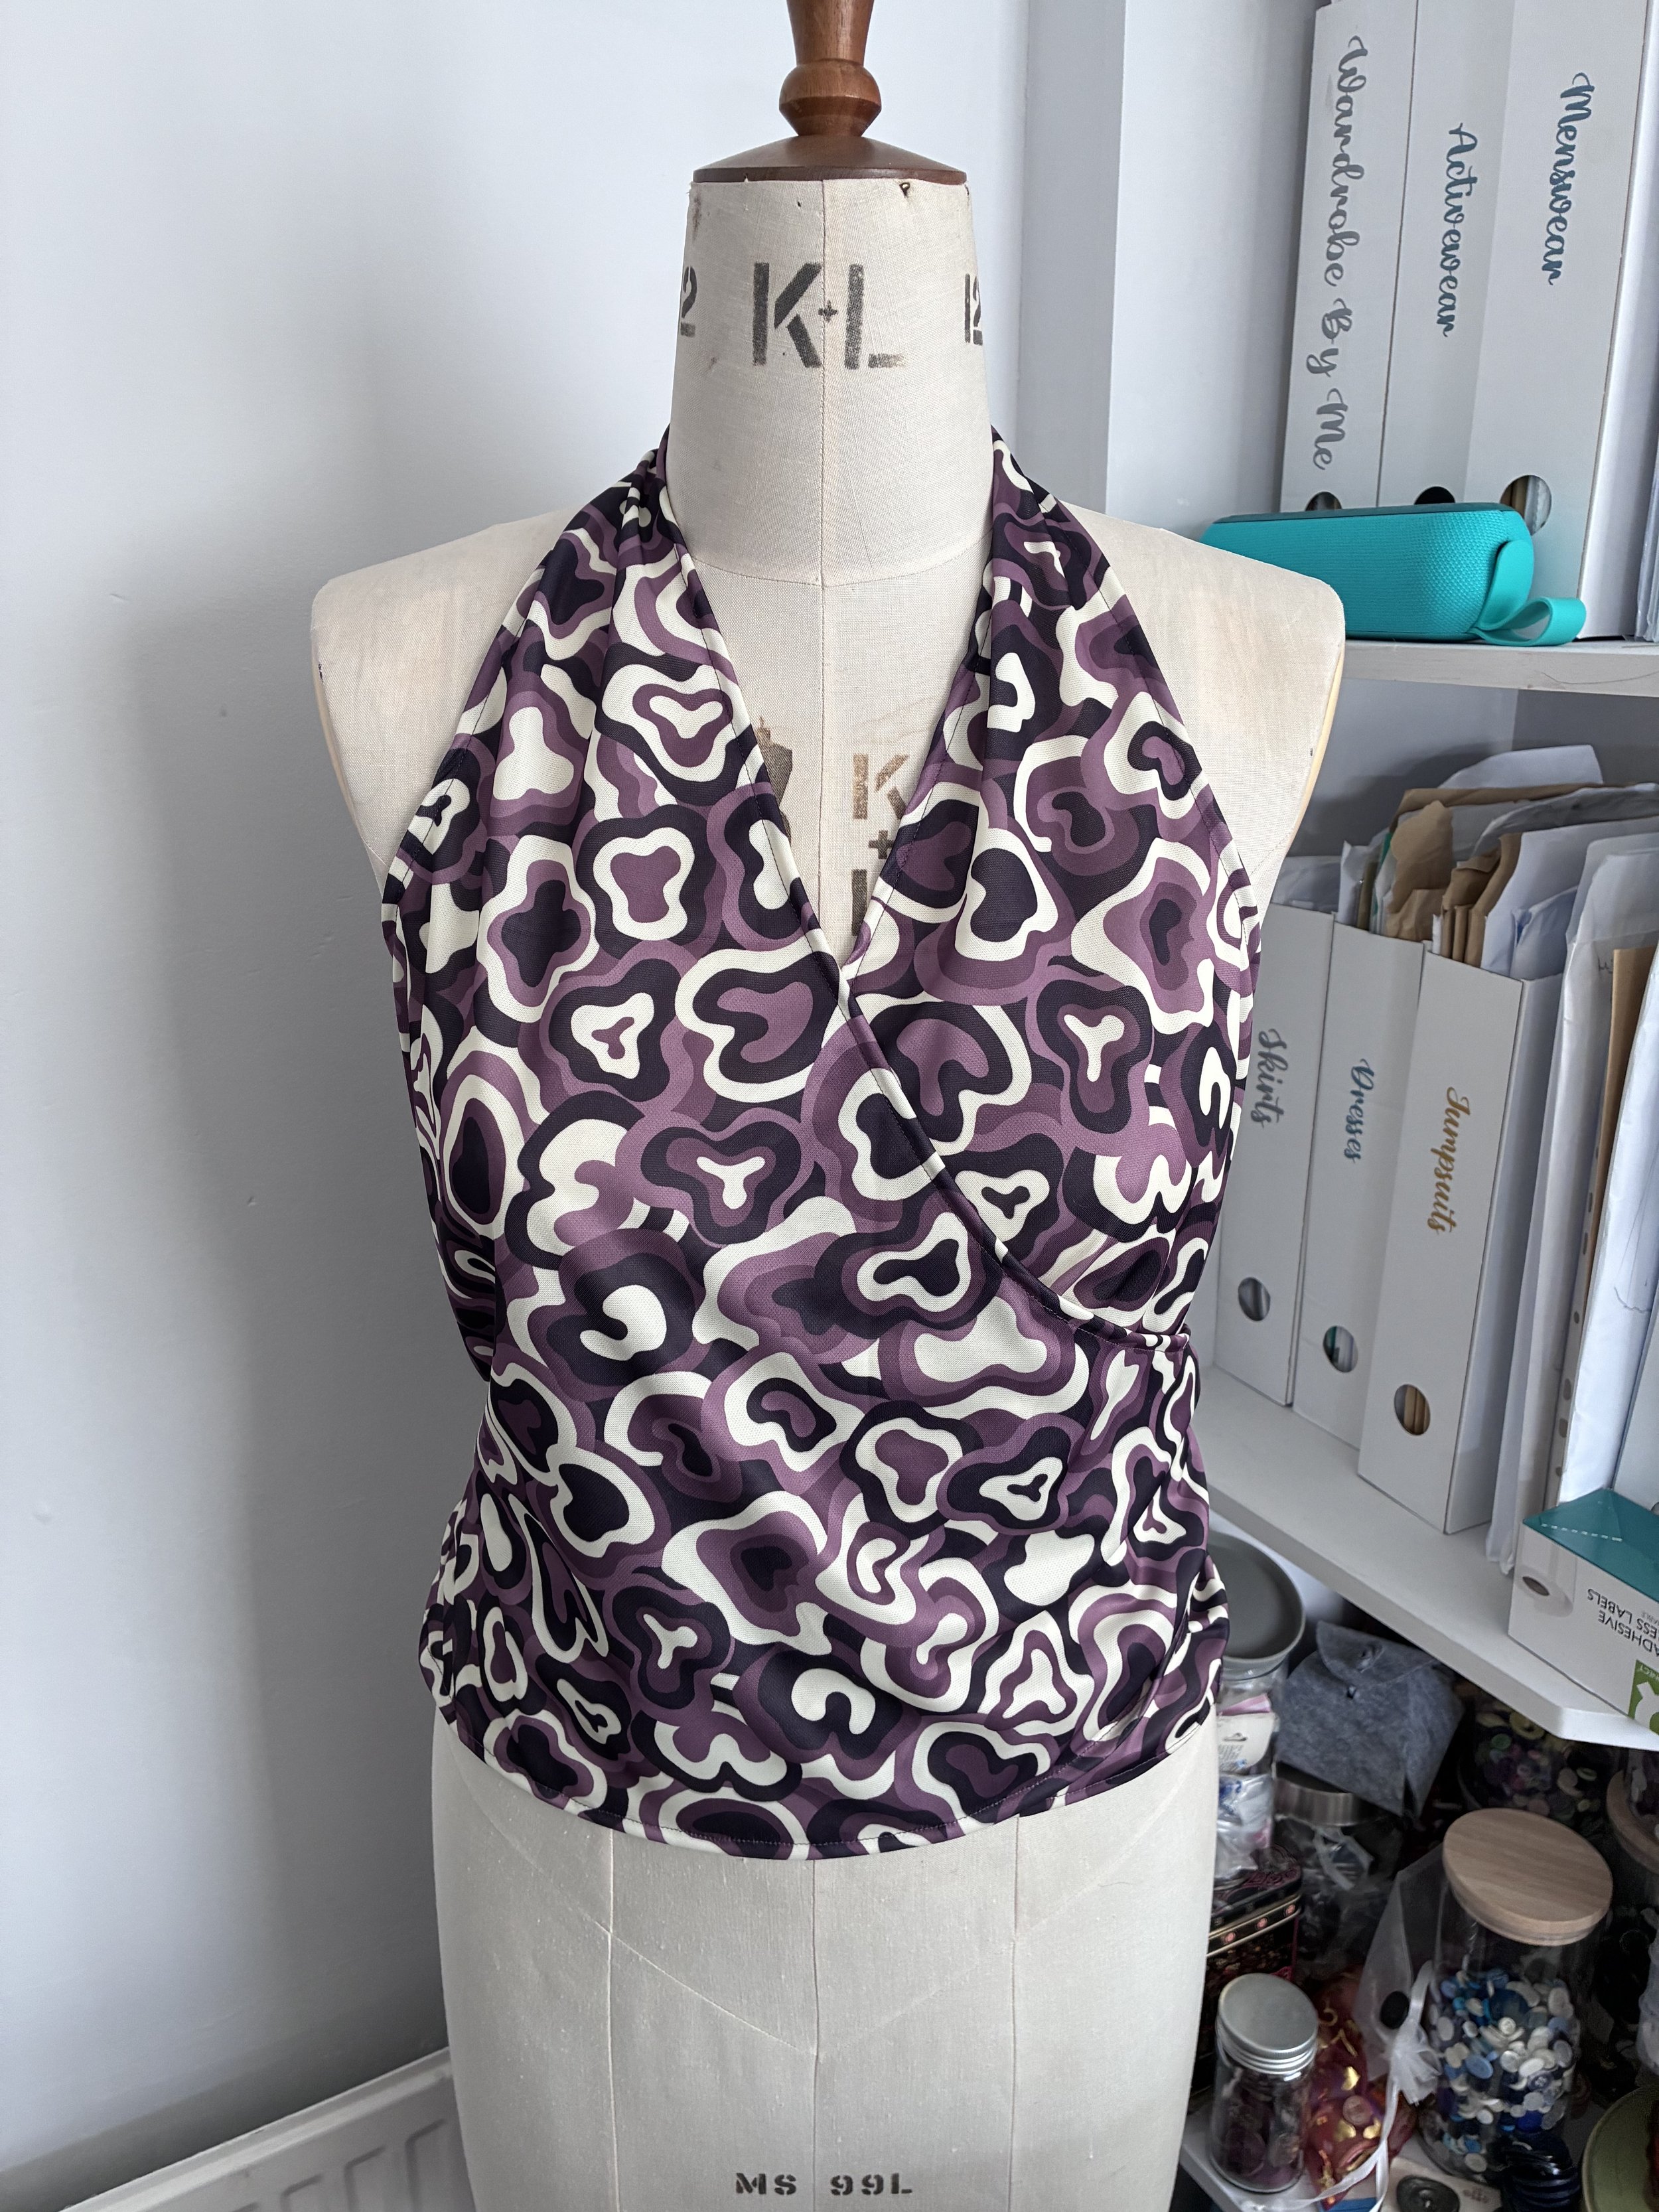
With the trousers saved, I started sketching ideas for a coordinating top. I played with a few designs — a halter neck with triangle cups and a halter-style wrap top were front-runners.
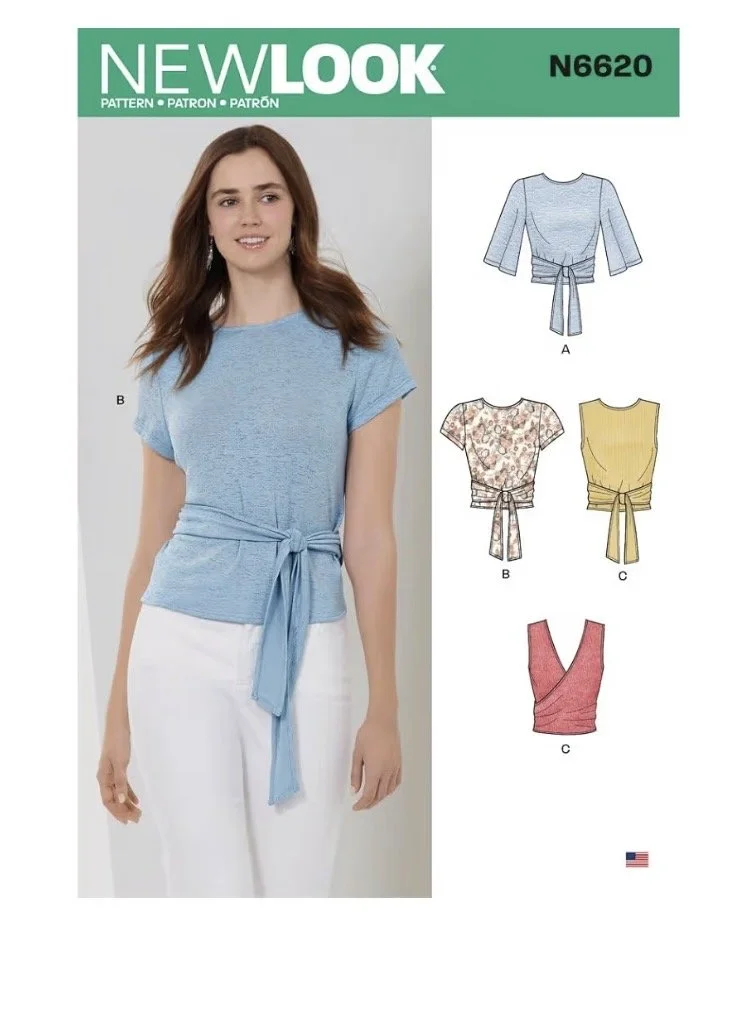
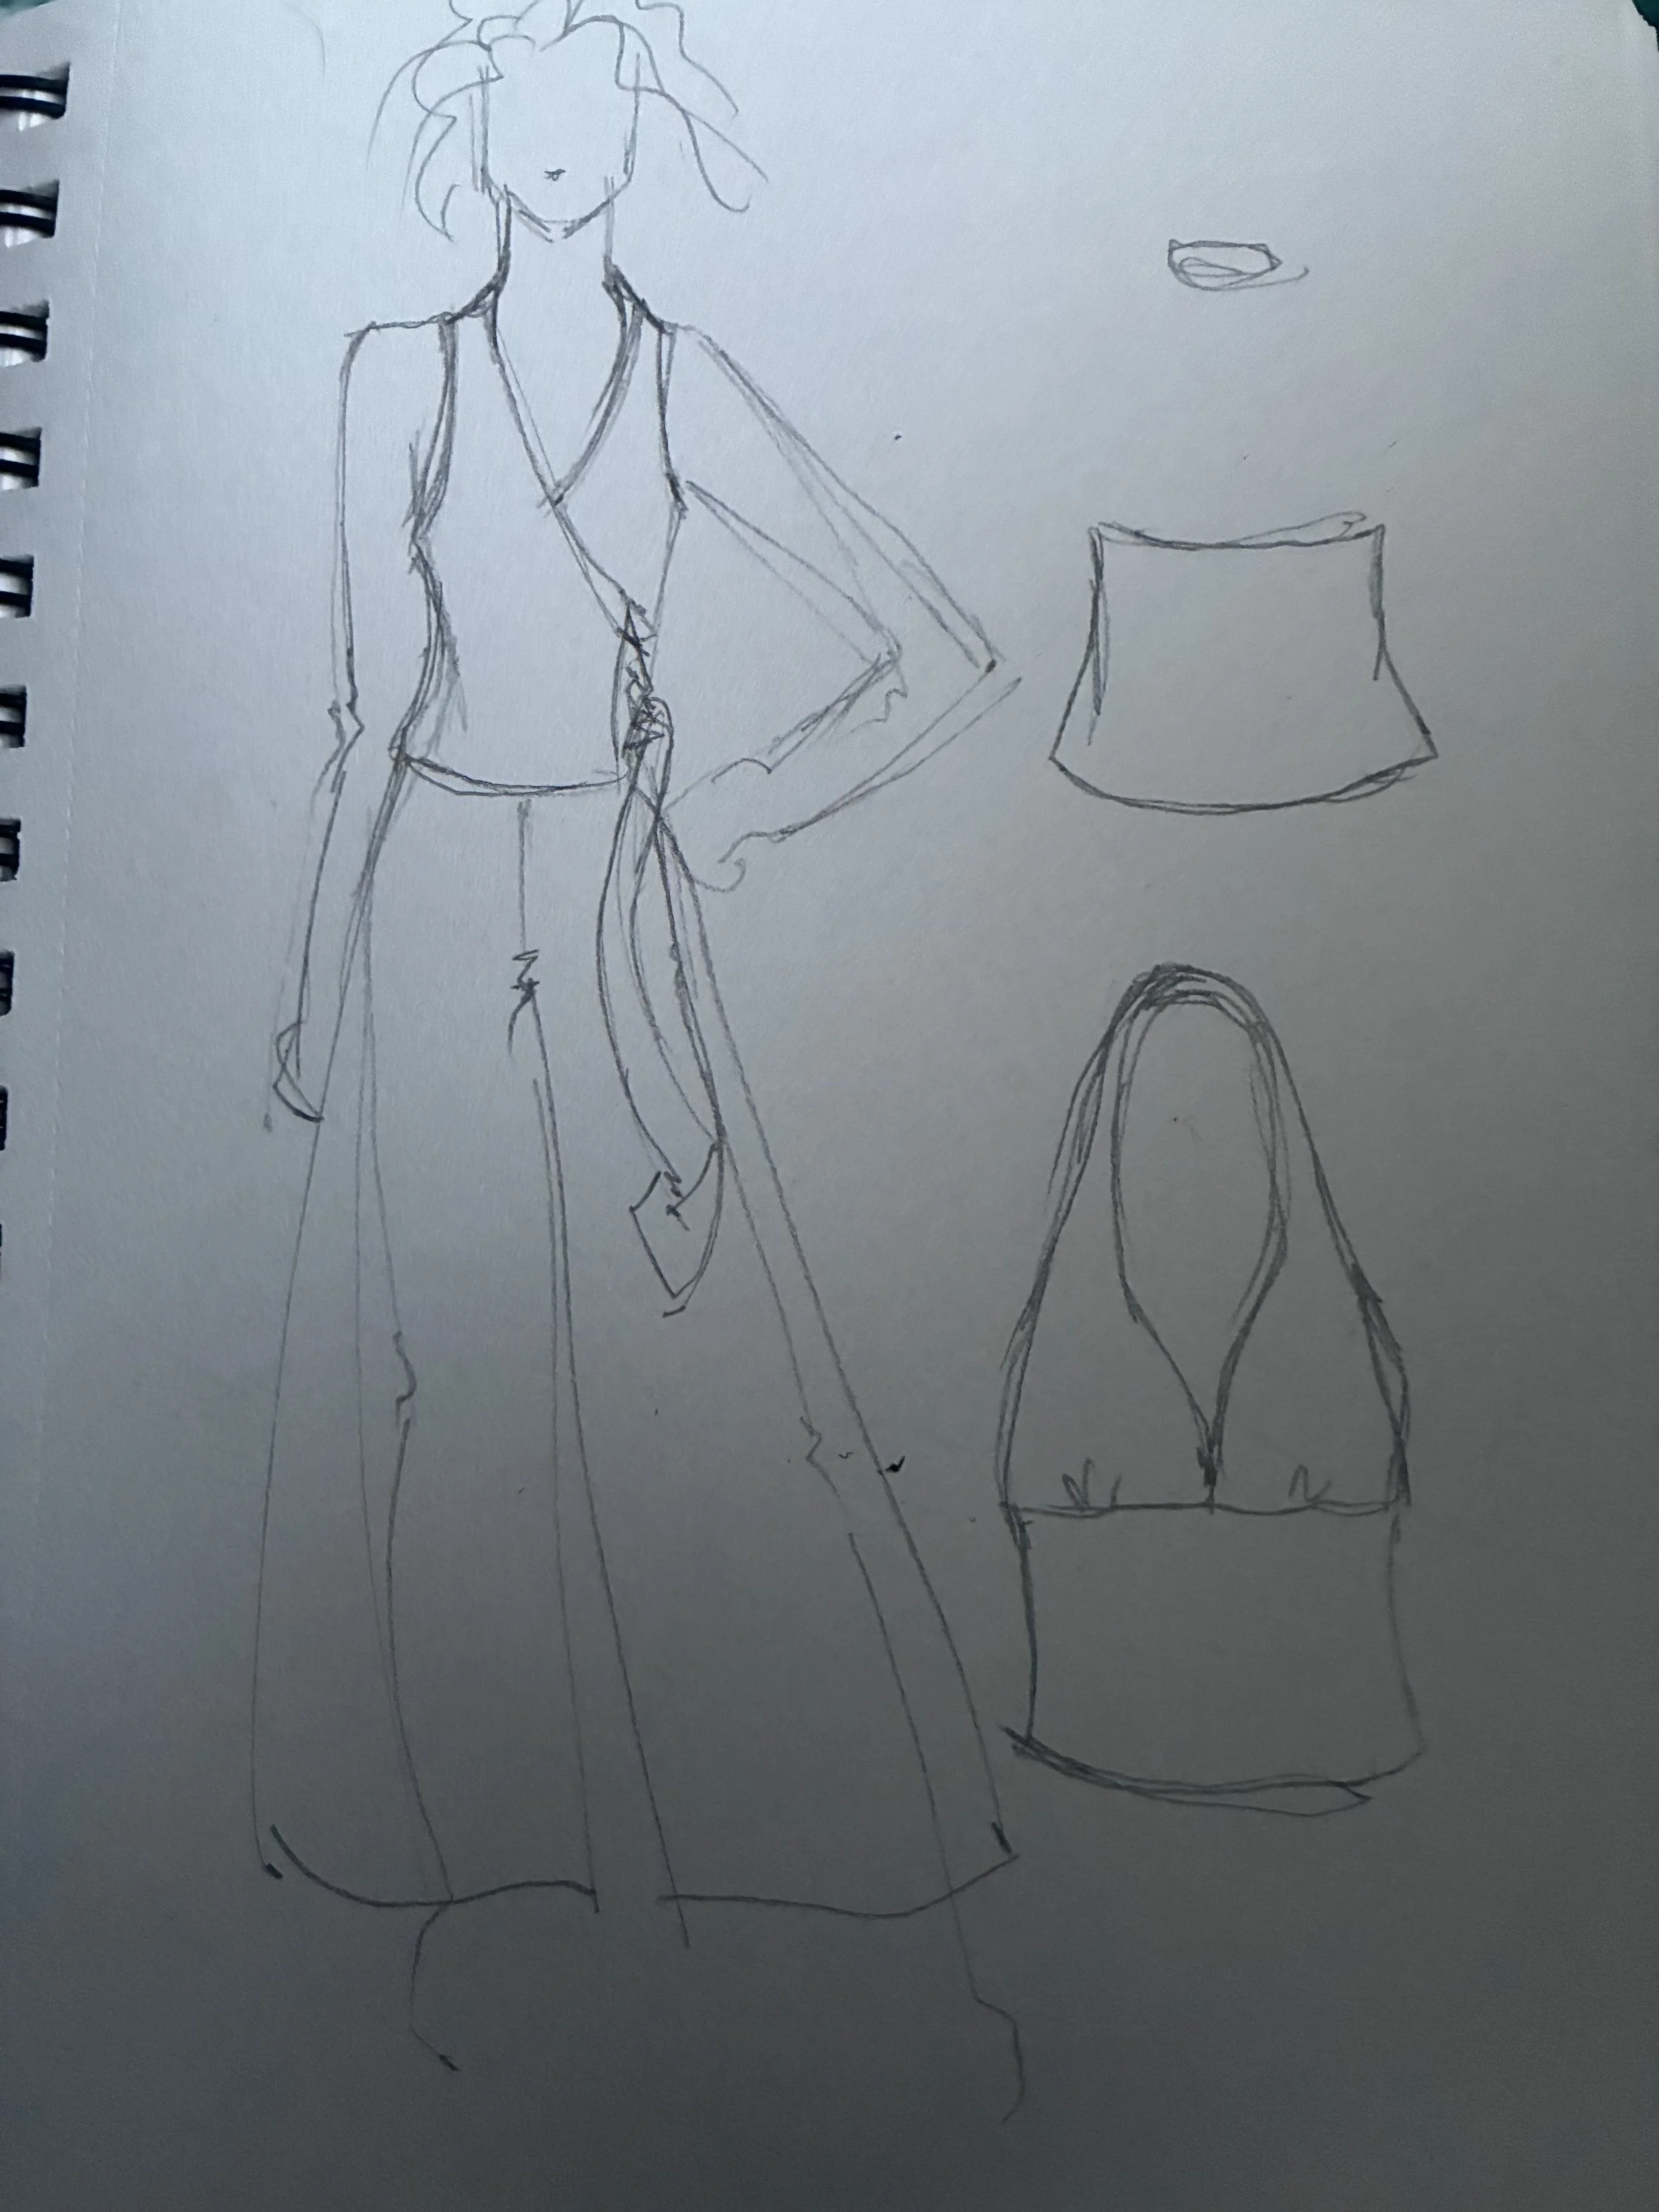
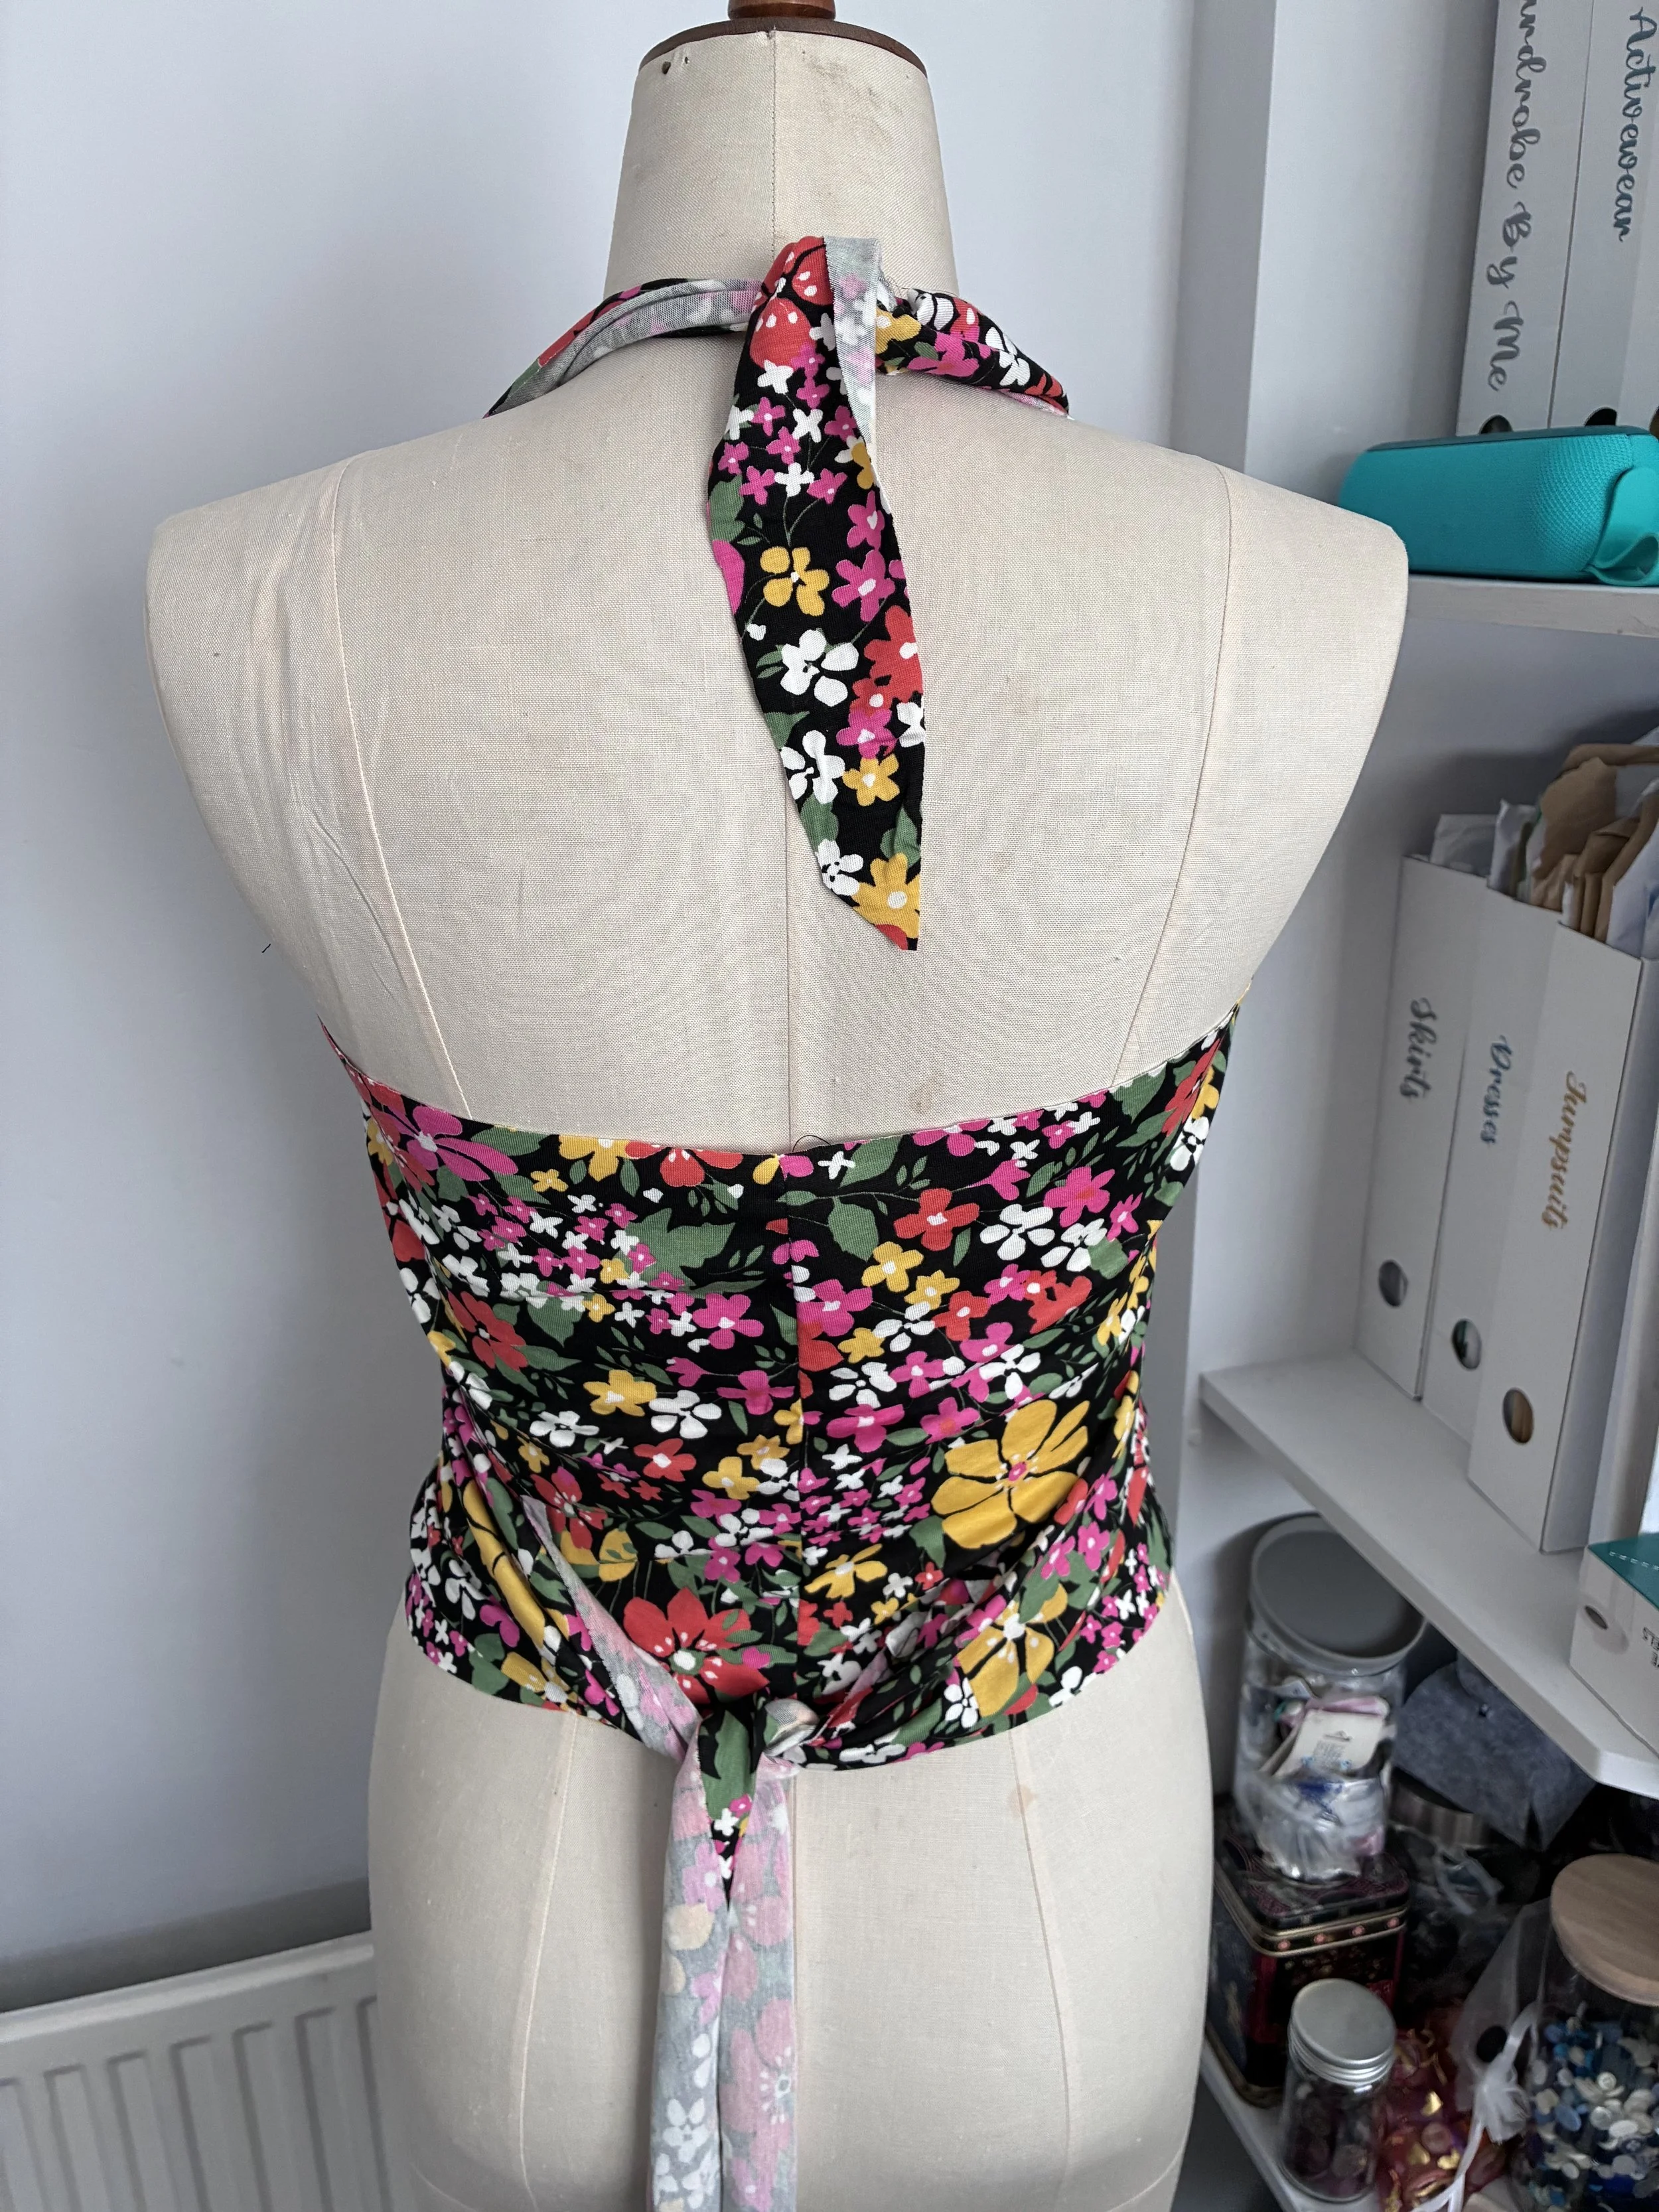
Digging back into my pattern stash, I found New Look N6620, a wrap top that ties at the back, with sleeveless and short-sleeve variations. I’d made it before in a slinky jersey and often wear it crossed at the front, so it felt like the perfect base to adapt. I did a quick sketch of what I wanted and got to work.
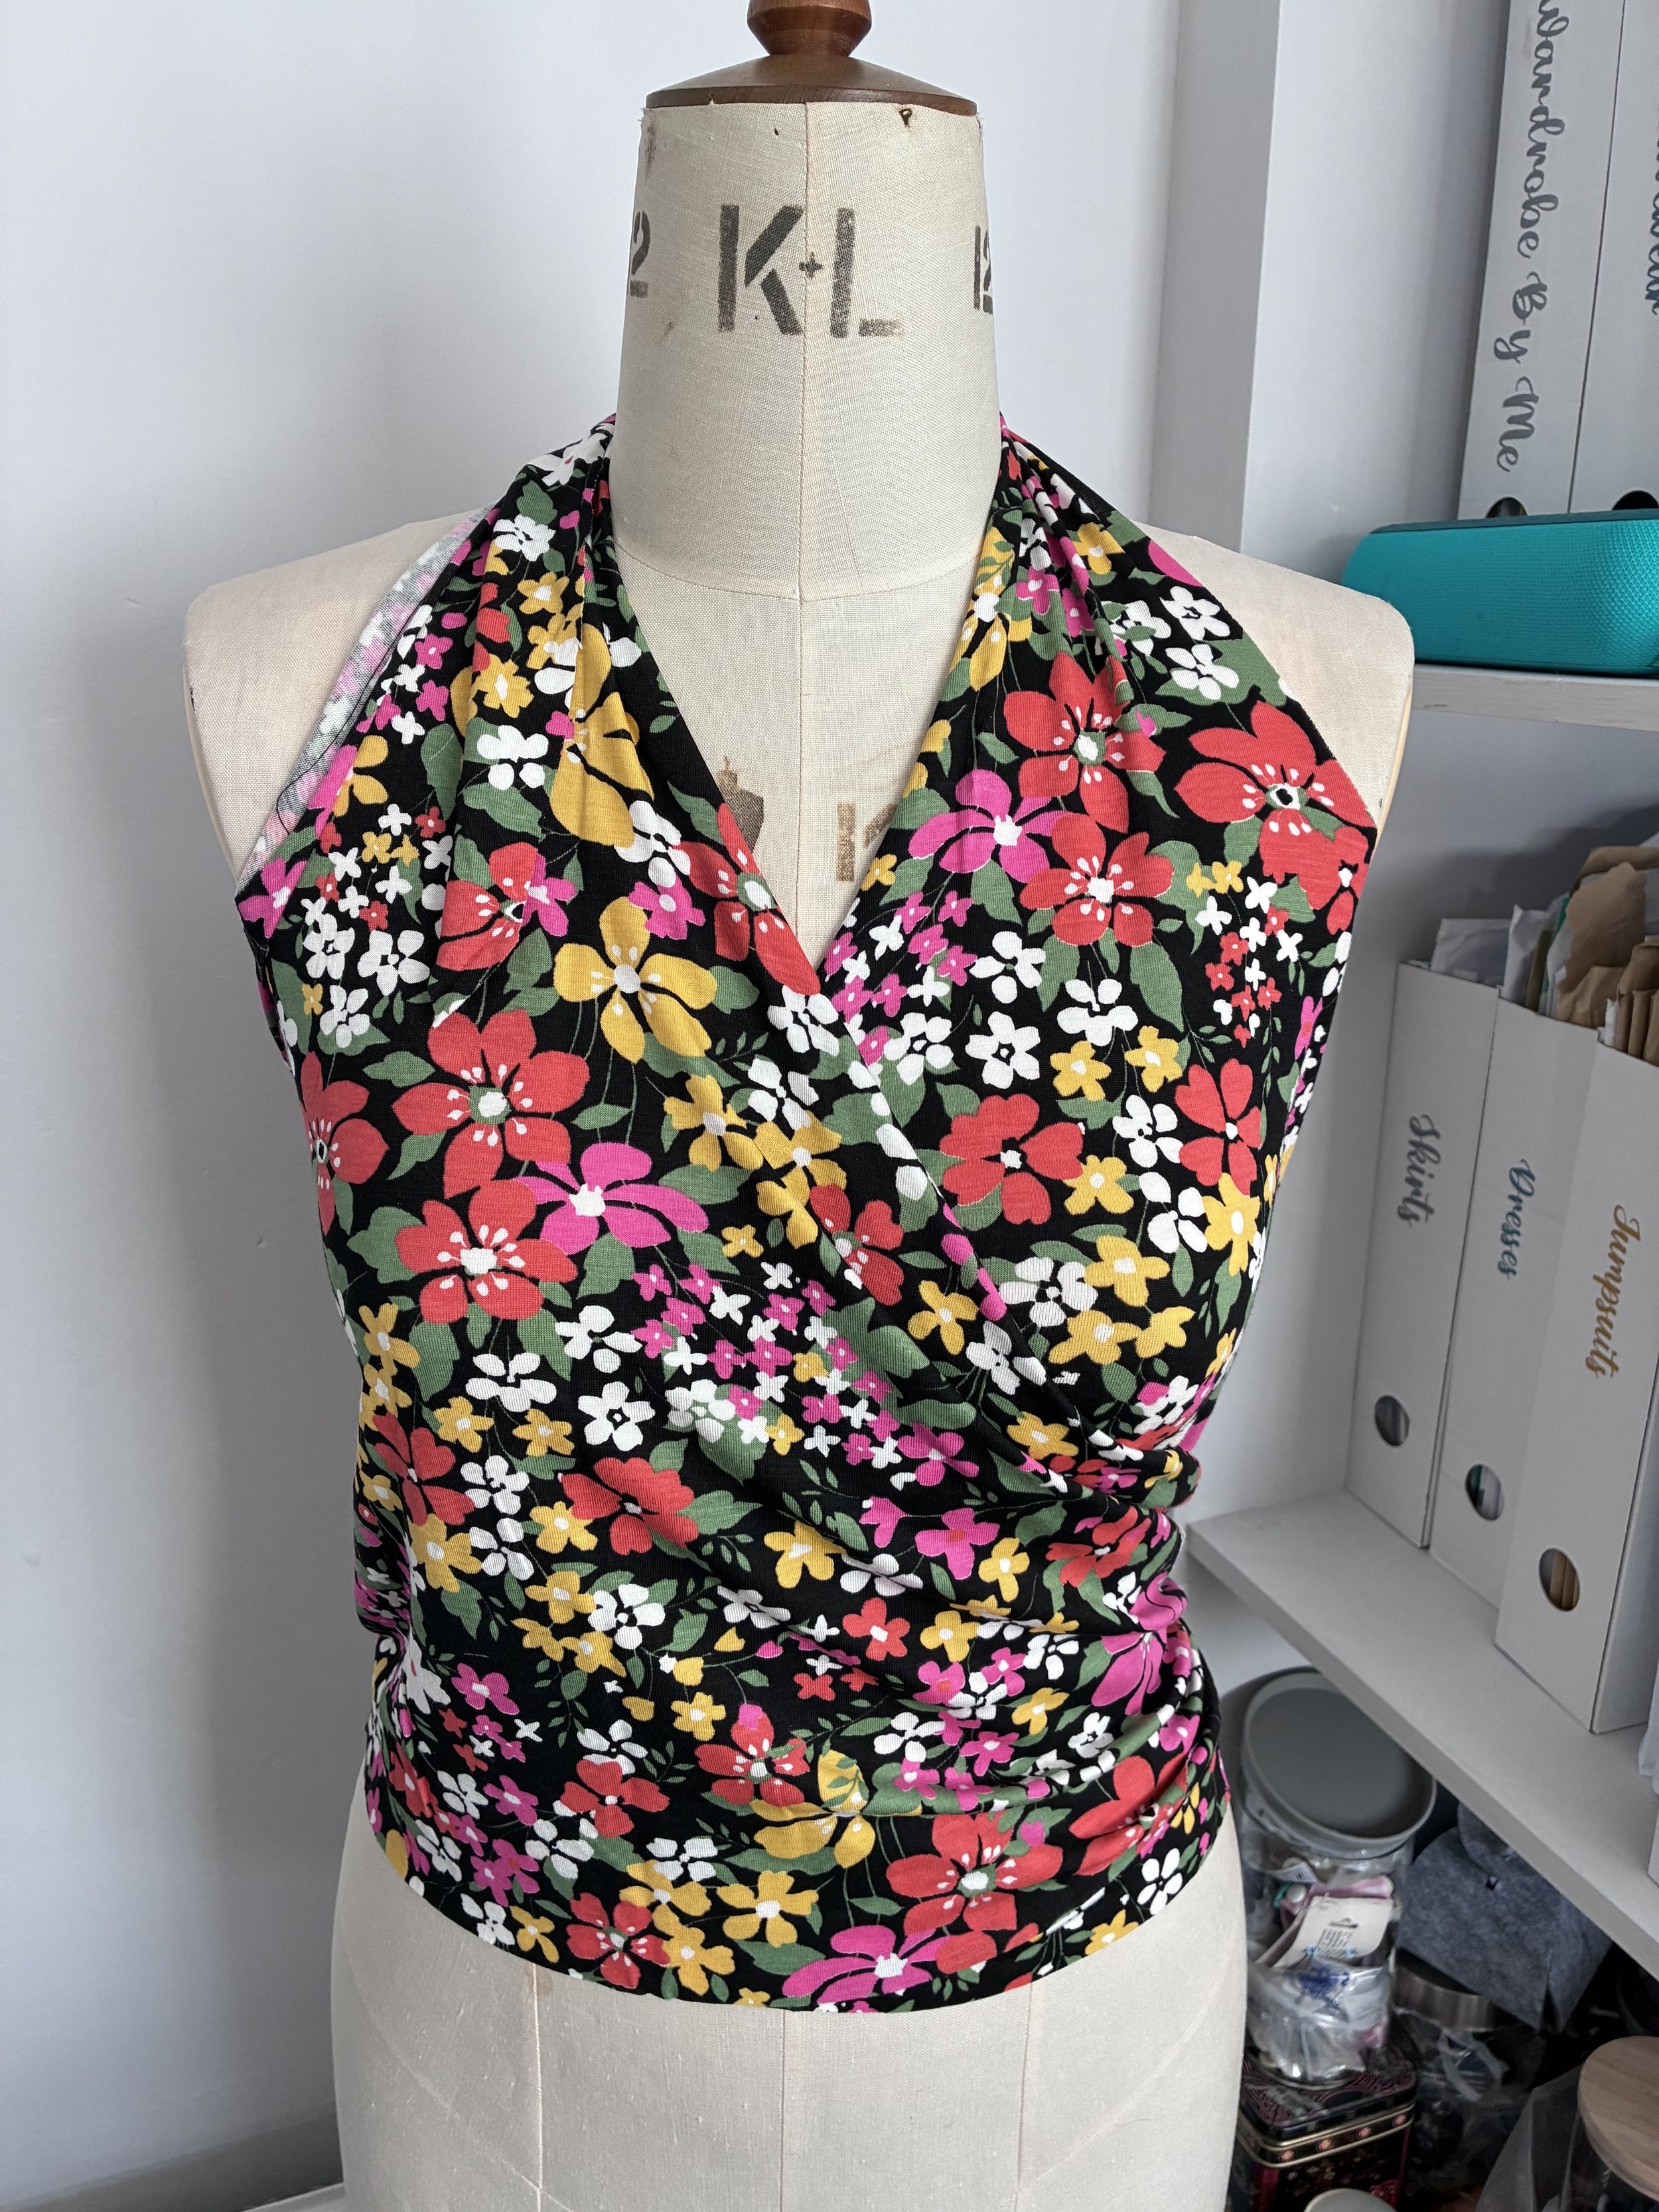
Using Pattern Trace Swedish paper (from Guthrie & Ghani), I started drafting. The paper’s flexibility made it ideal for shaping directly on the mannequin.
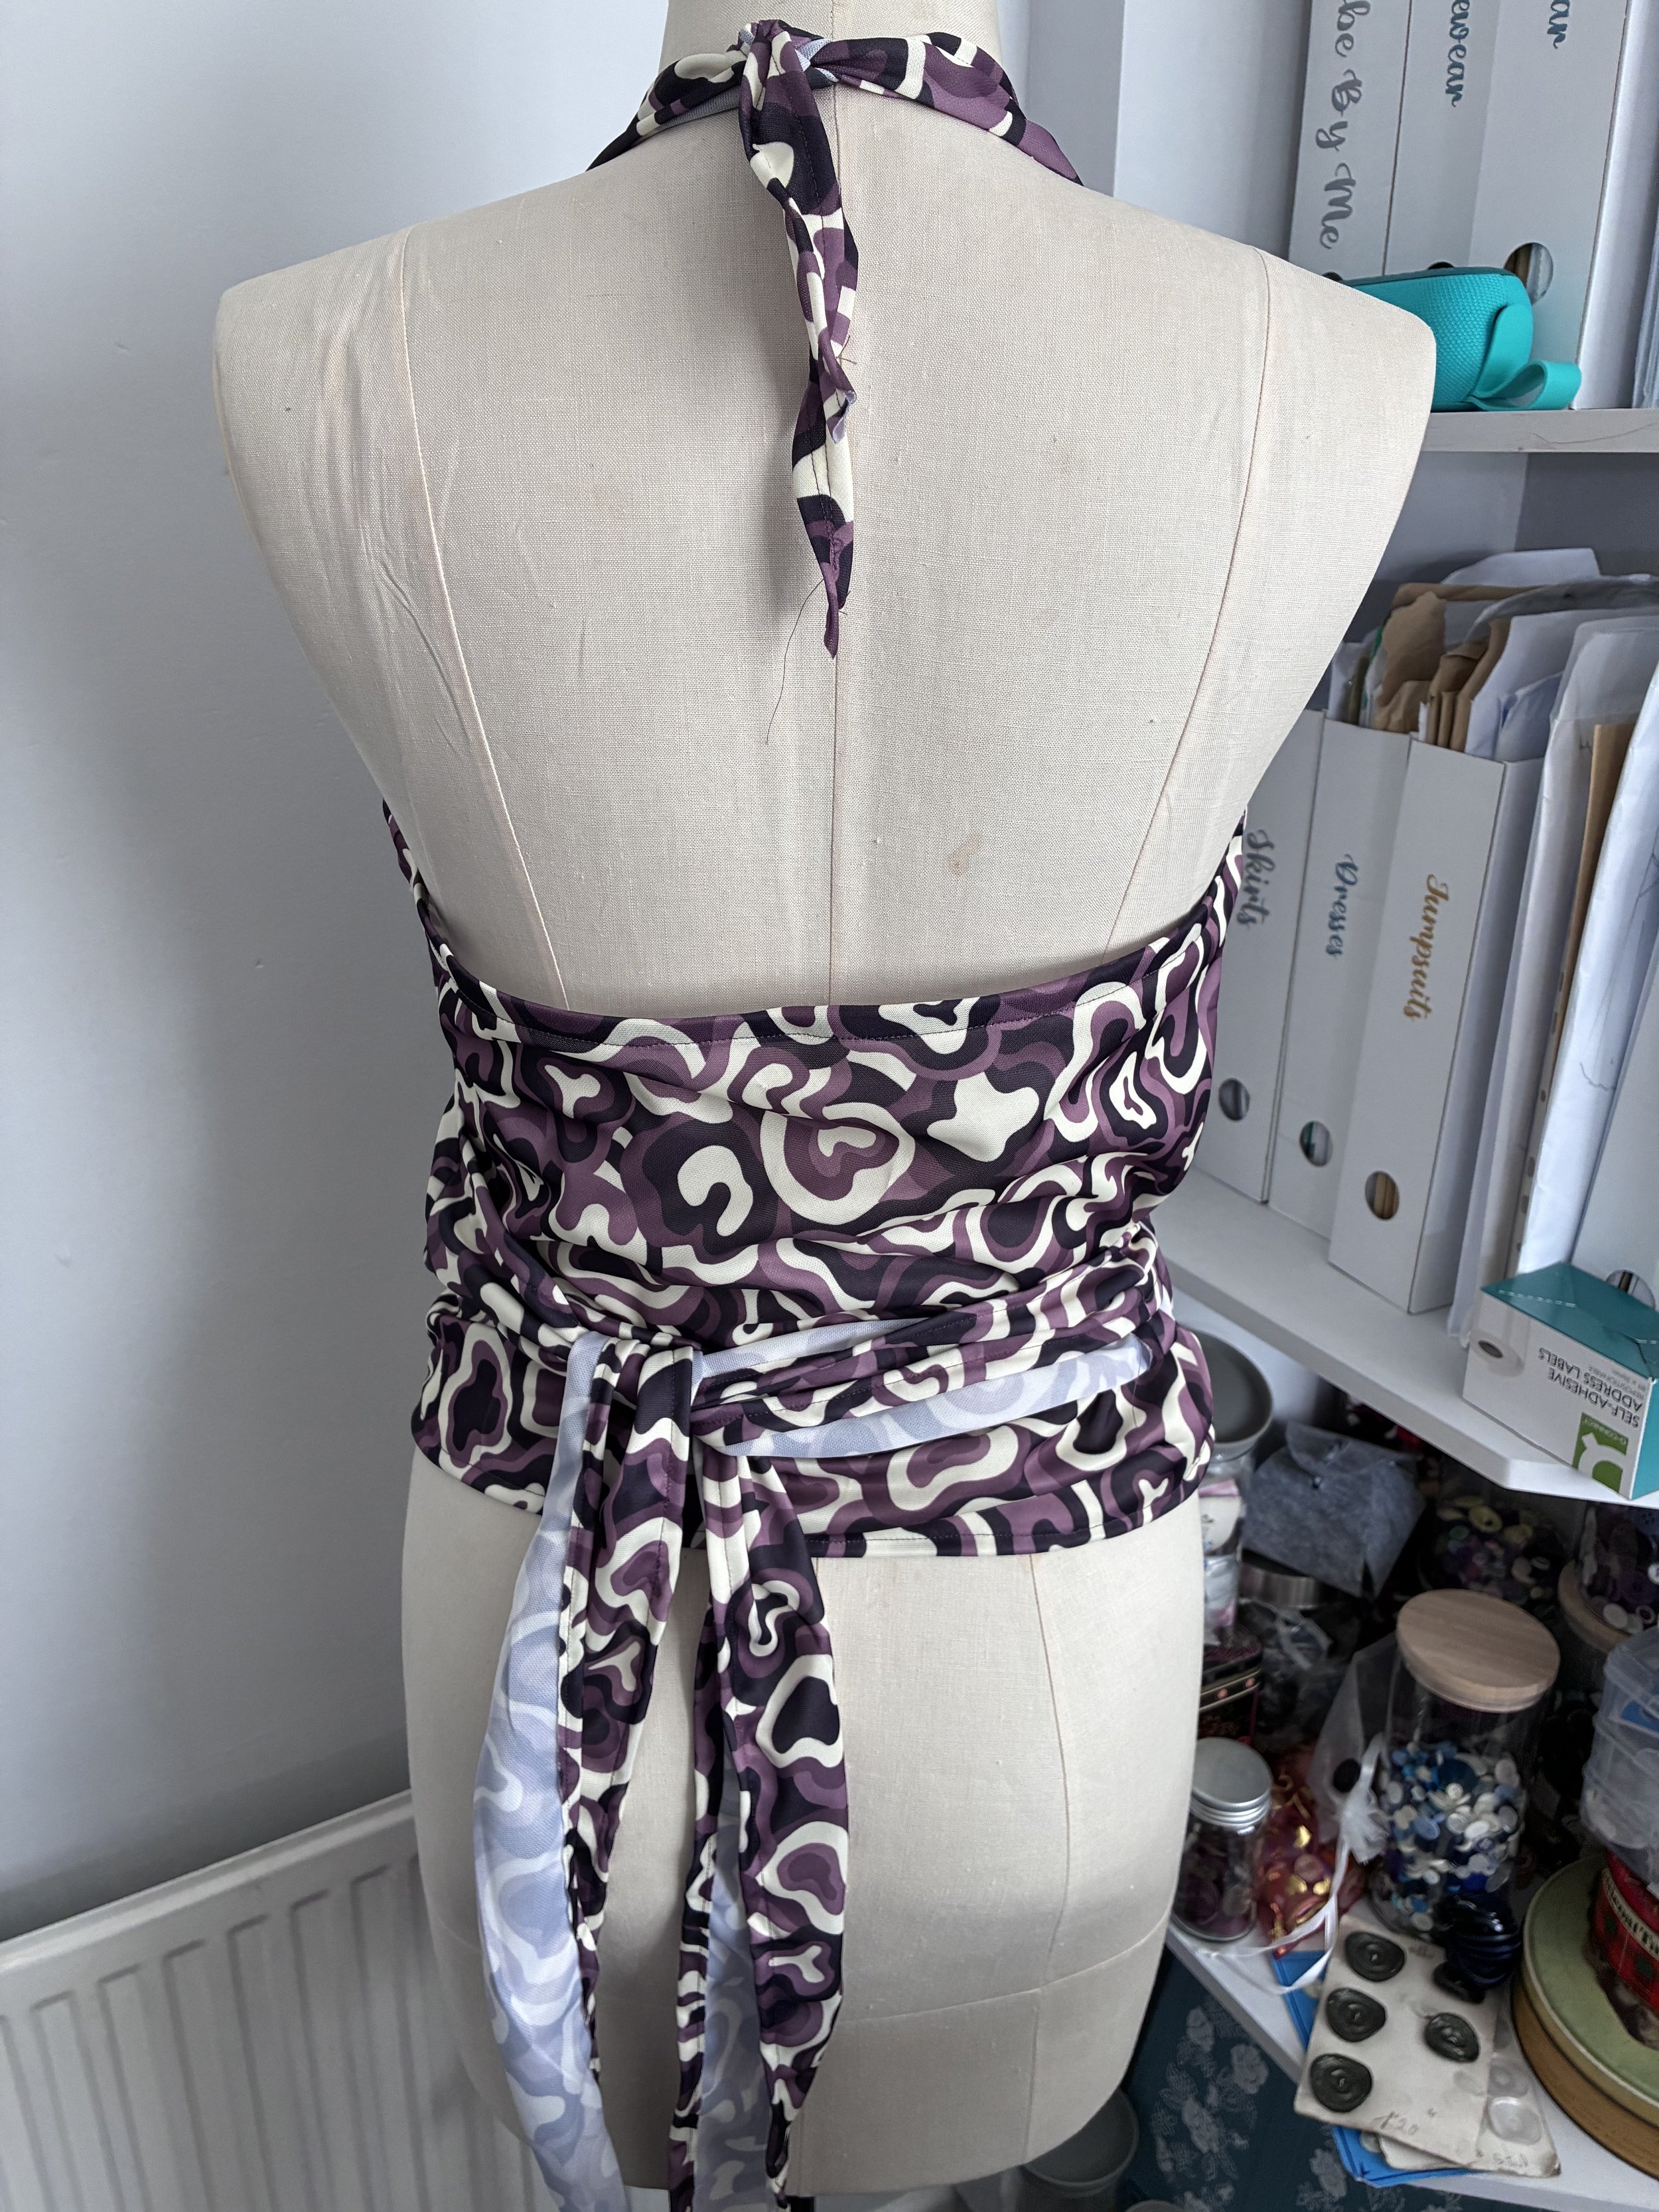
I began by measuring my back (not easy to do solo!) at underarm, waist, and hip level to add shaping through the side seams for a neat fit. Then I cut a back piece, checked the coverage on my mannequin, and adjusted the length so it would meet the trousers comfortably and still work with a strapless bra.
For the front, I aligned the side seam, marked the crossover point, and used N6620 as a reference to shape the neckline. I moved the neck point slightly inward for a snugger fit and extended the shoulder up to form a tie behind the neck. I also added a separate piece at the crossover edge to form waist ties.
After two toiles (and a few tweaks to the shaping and neckline), I was finally ready to cut into my precious navy jersey.
Sewing the Final Outfit
Construction was wonderfully simple. The satin jersey doesn’t fray, so I only needed to sew the side seams (leaving a small gap for the tie to thread through) and turn a 1 cm hem around the remaining edges.
For the trousers, I added a 38 mm elastic waistband. I measured the waist width, cut a matching rectangle, stitched it on, and threaded the elastic through. One final fitting confirmed a perfect, comfortable fit — so I closed the gap, and they were finished.
Because the fabric draped so beautifully, I decided to leave the hems raw. They hung perfectly and were exactly the right length — no hemming required, which felt like a bonus win!
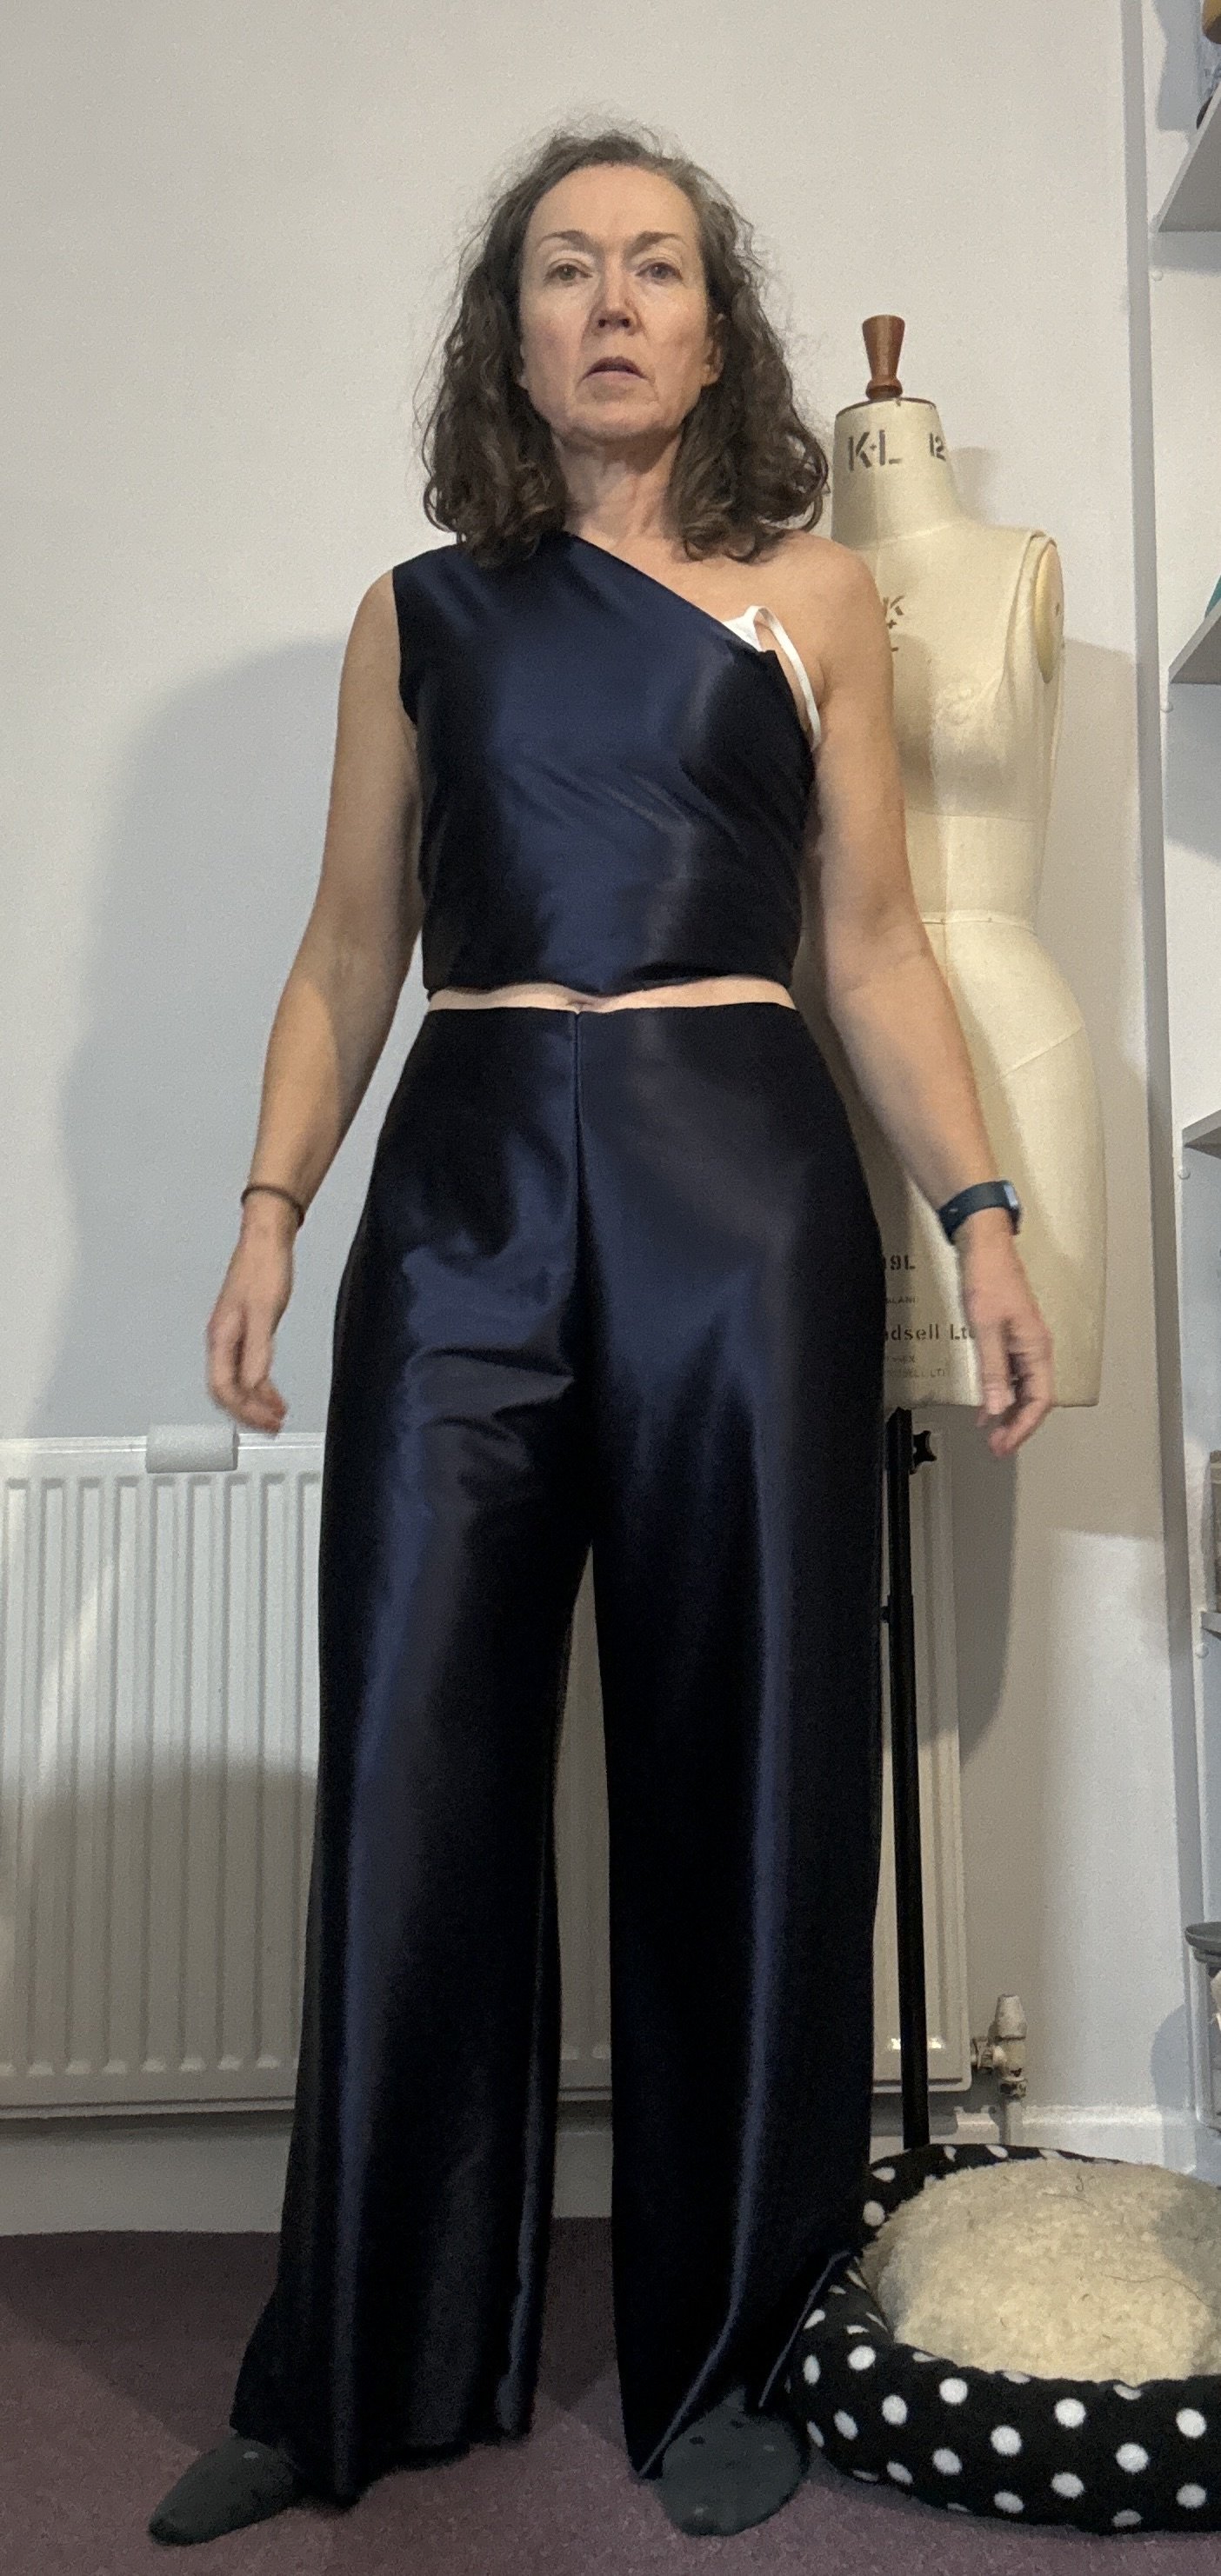
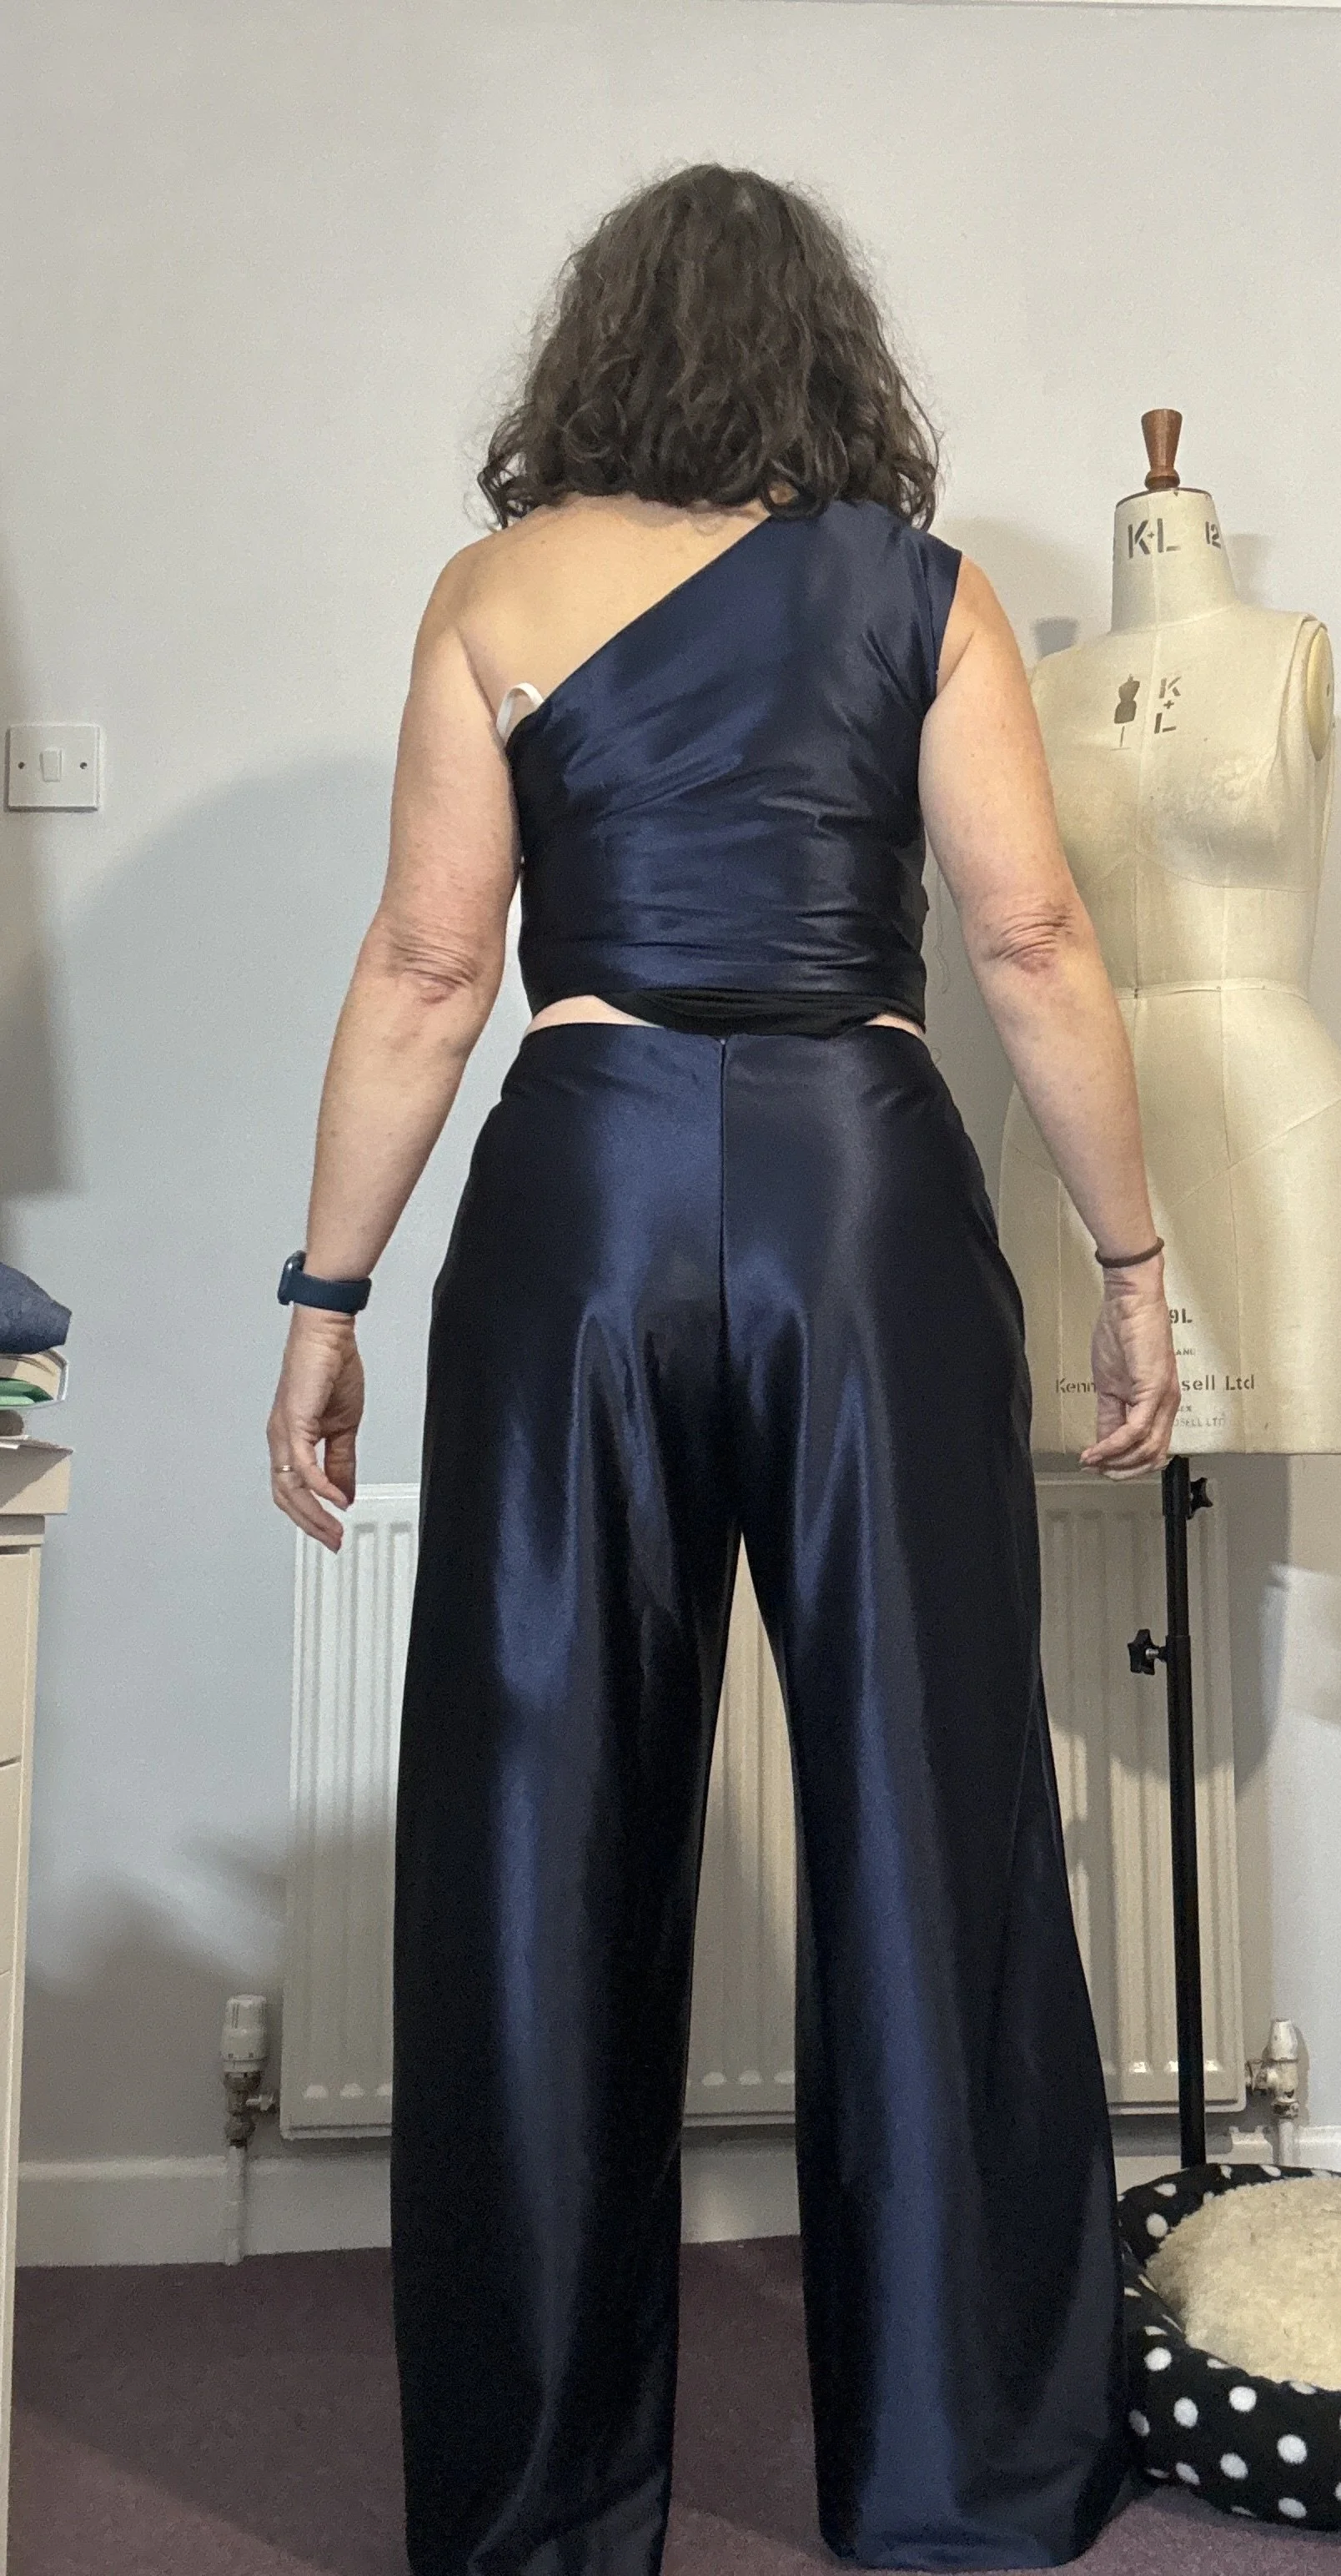
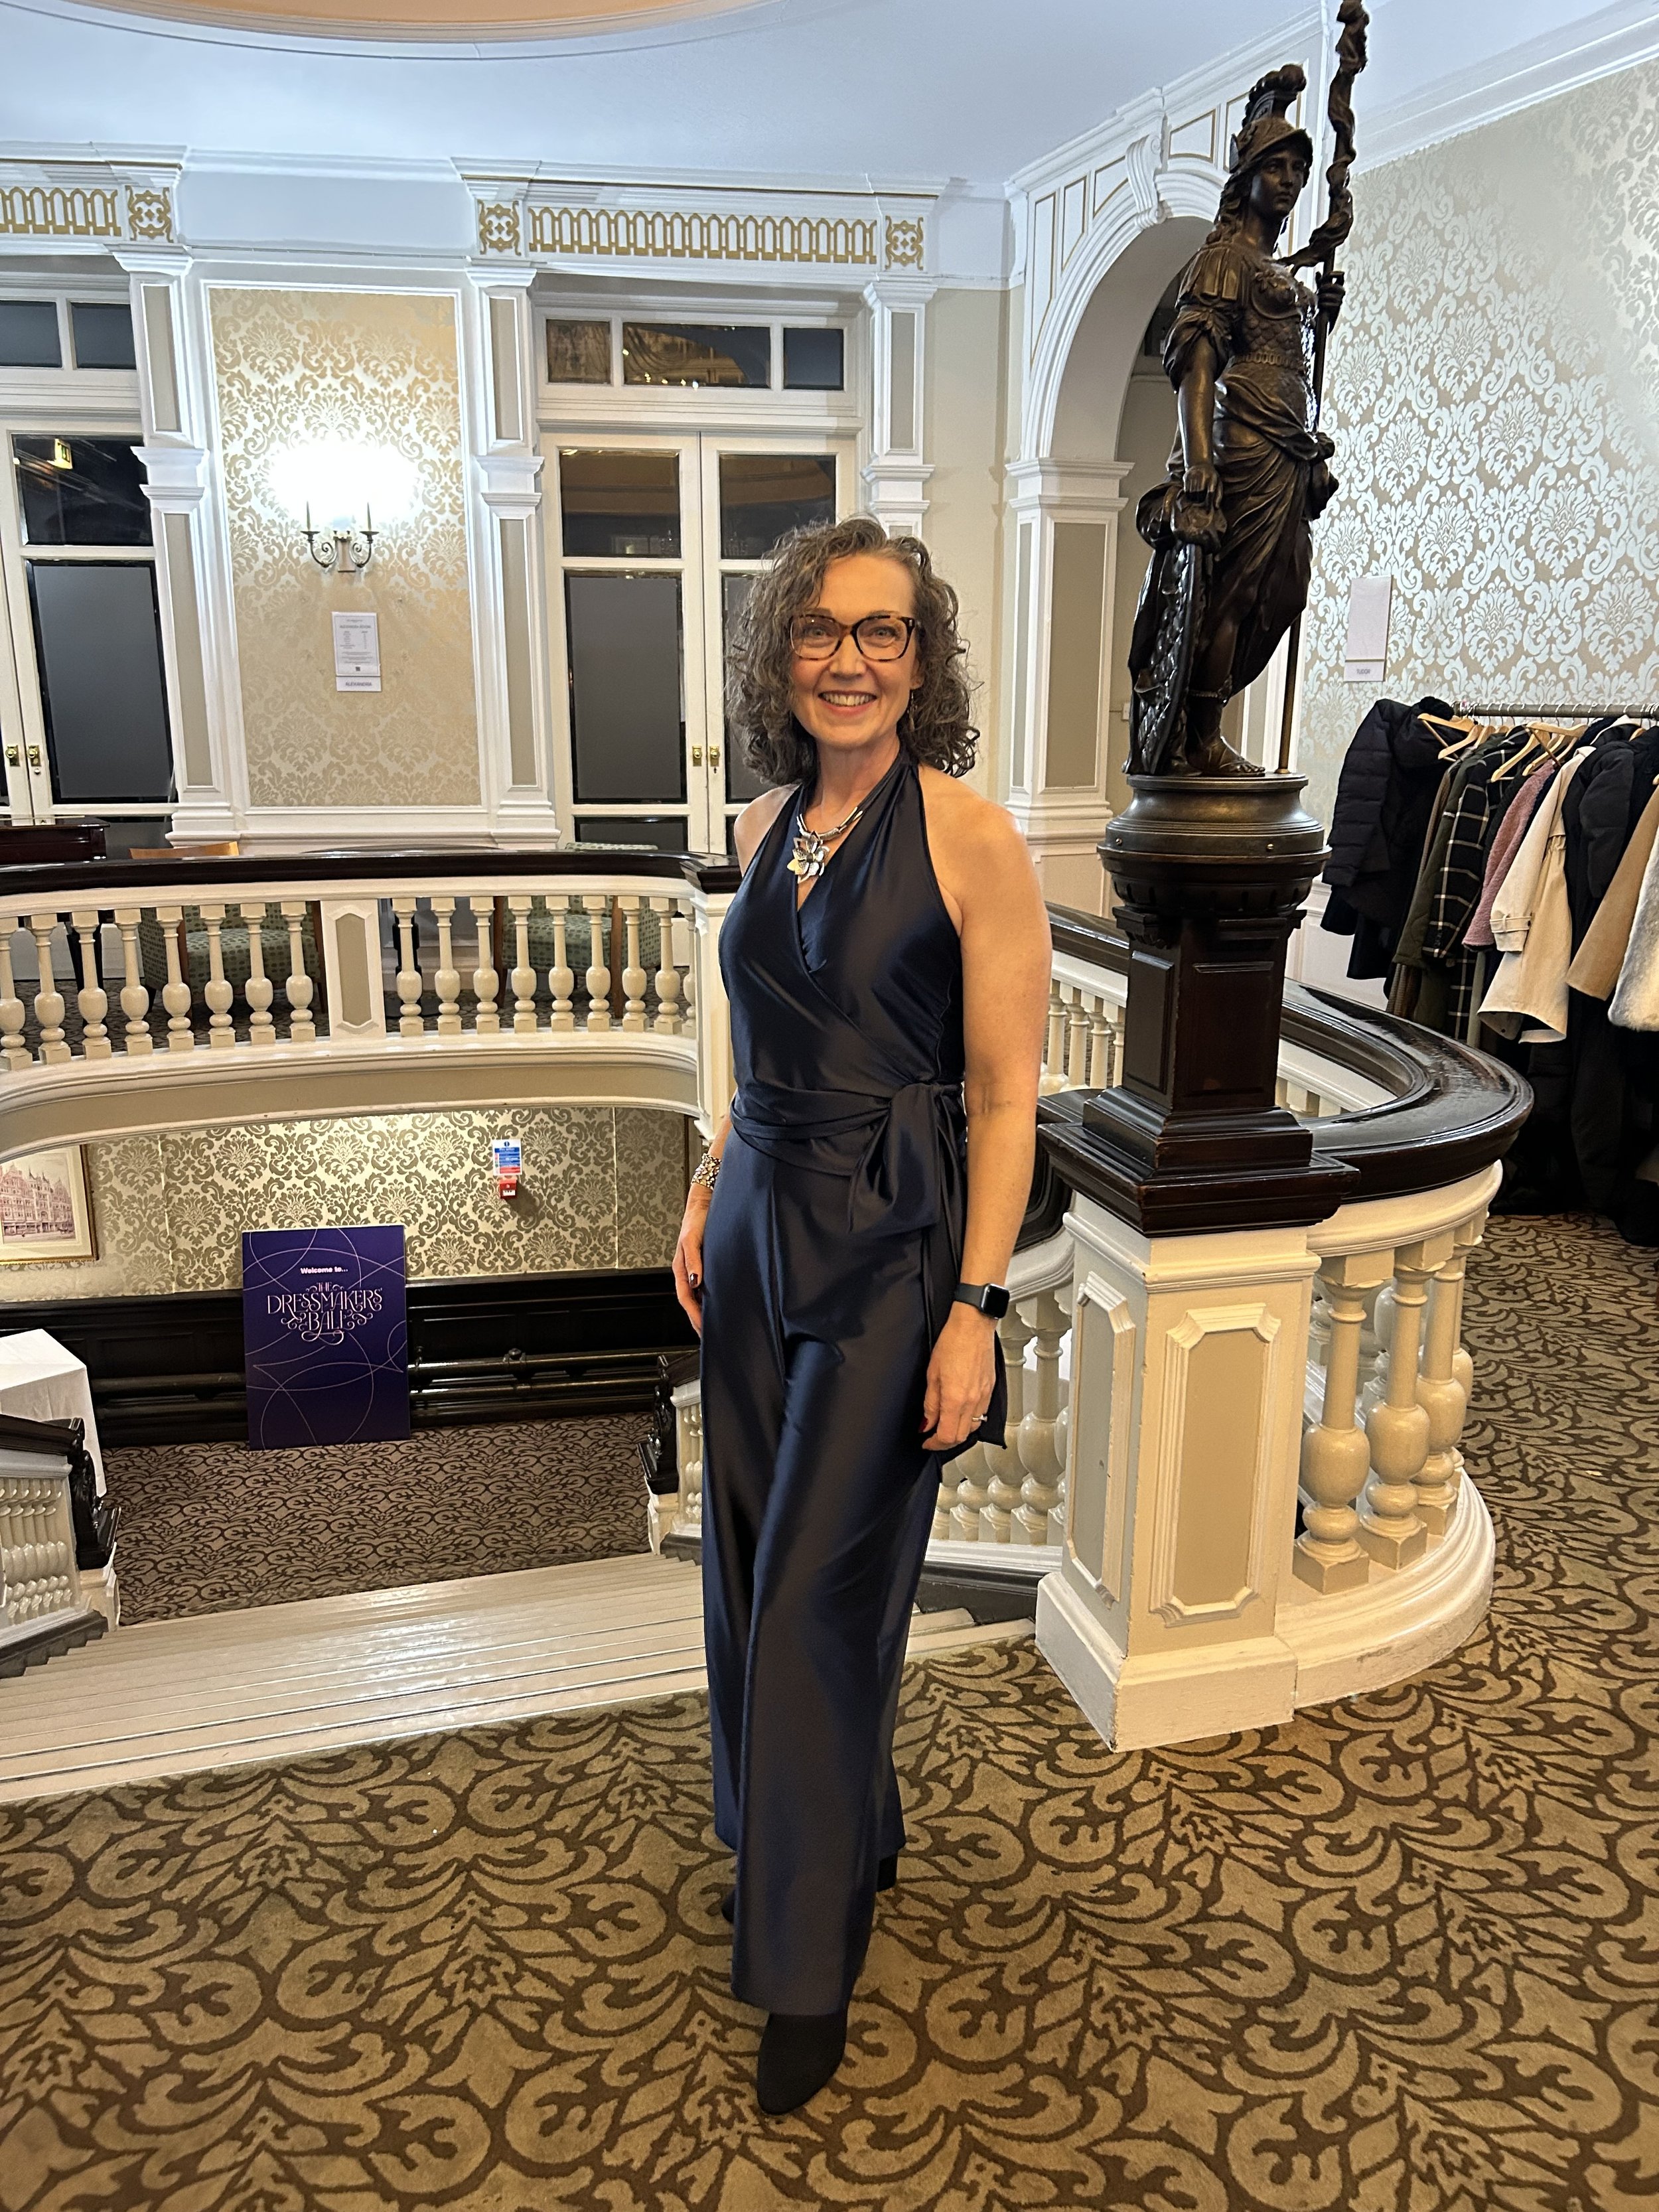
The Finished Look
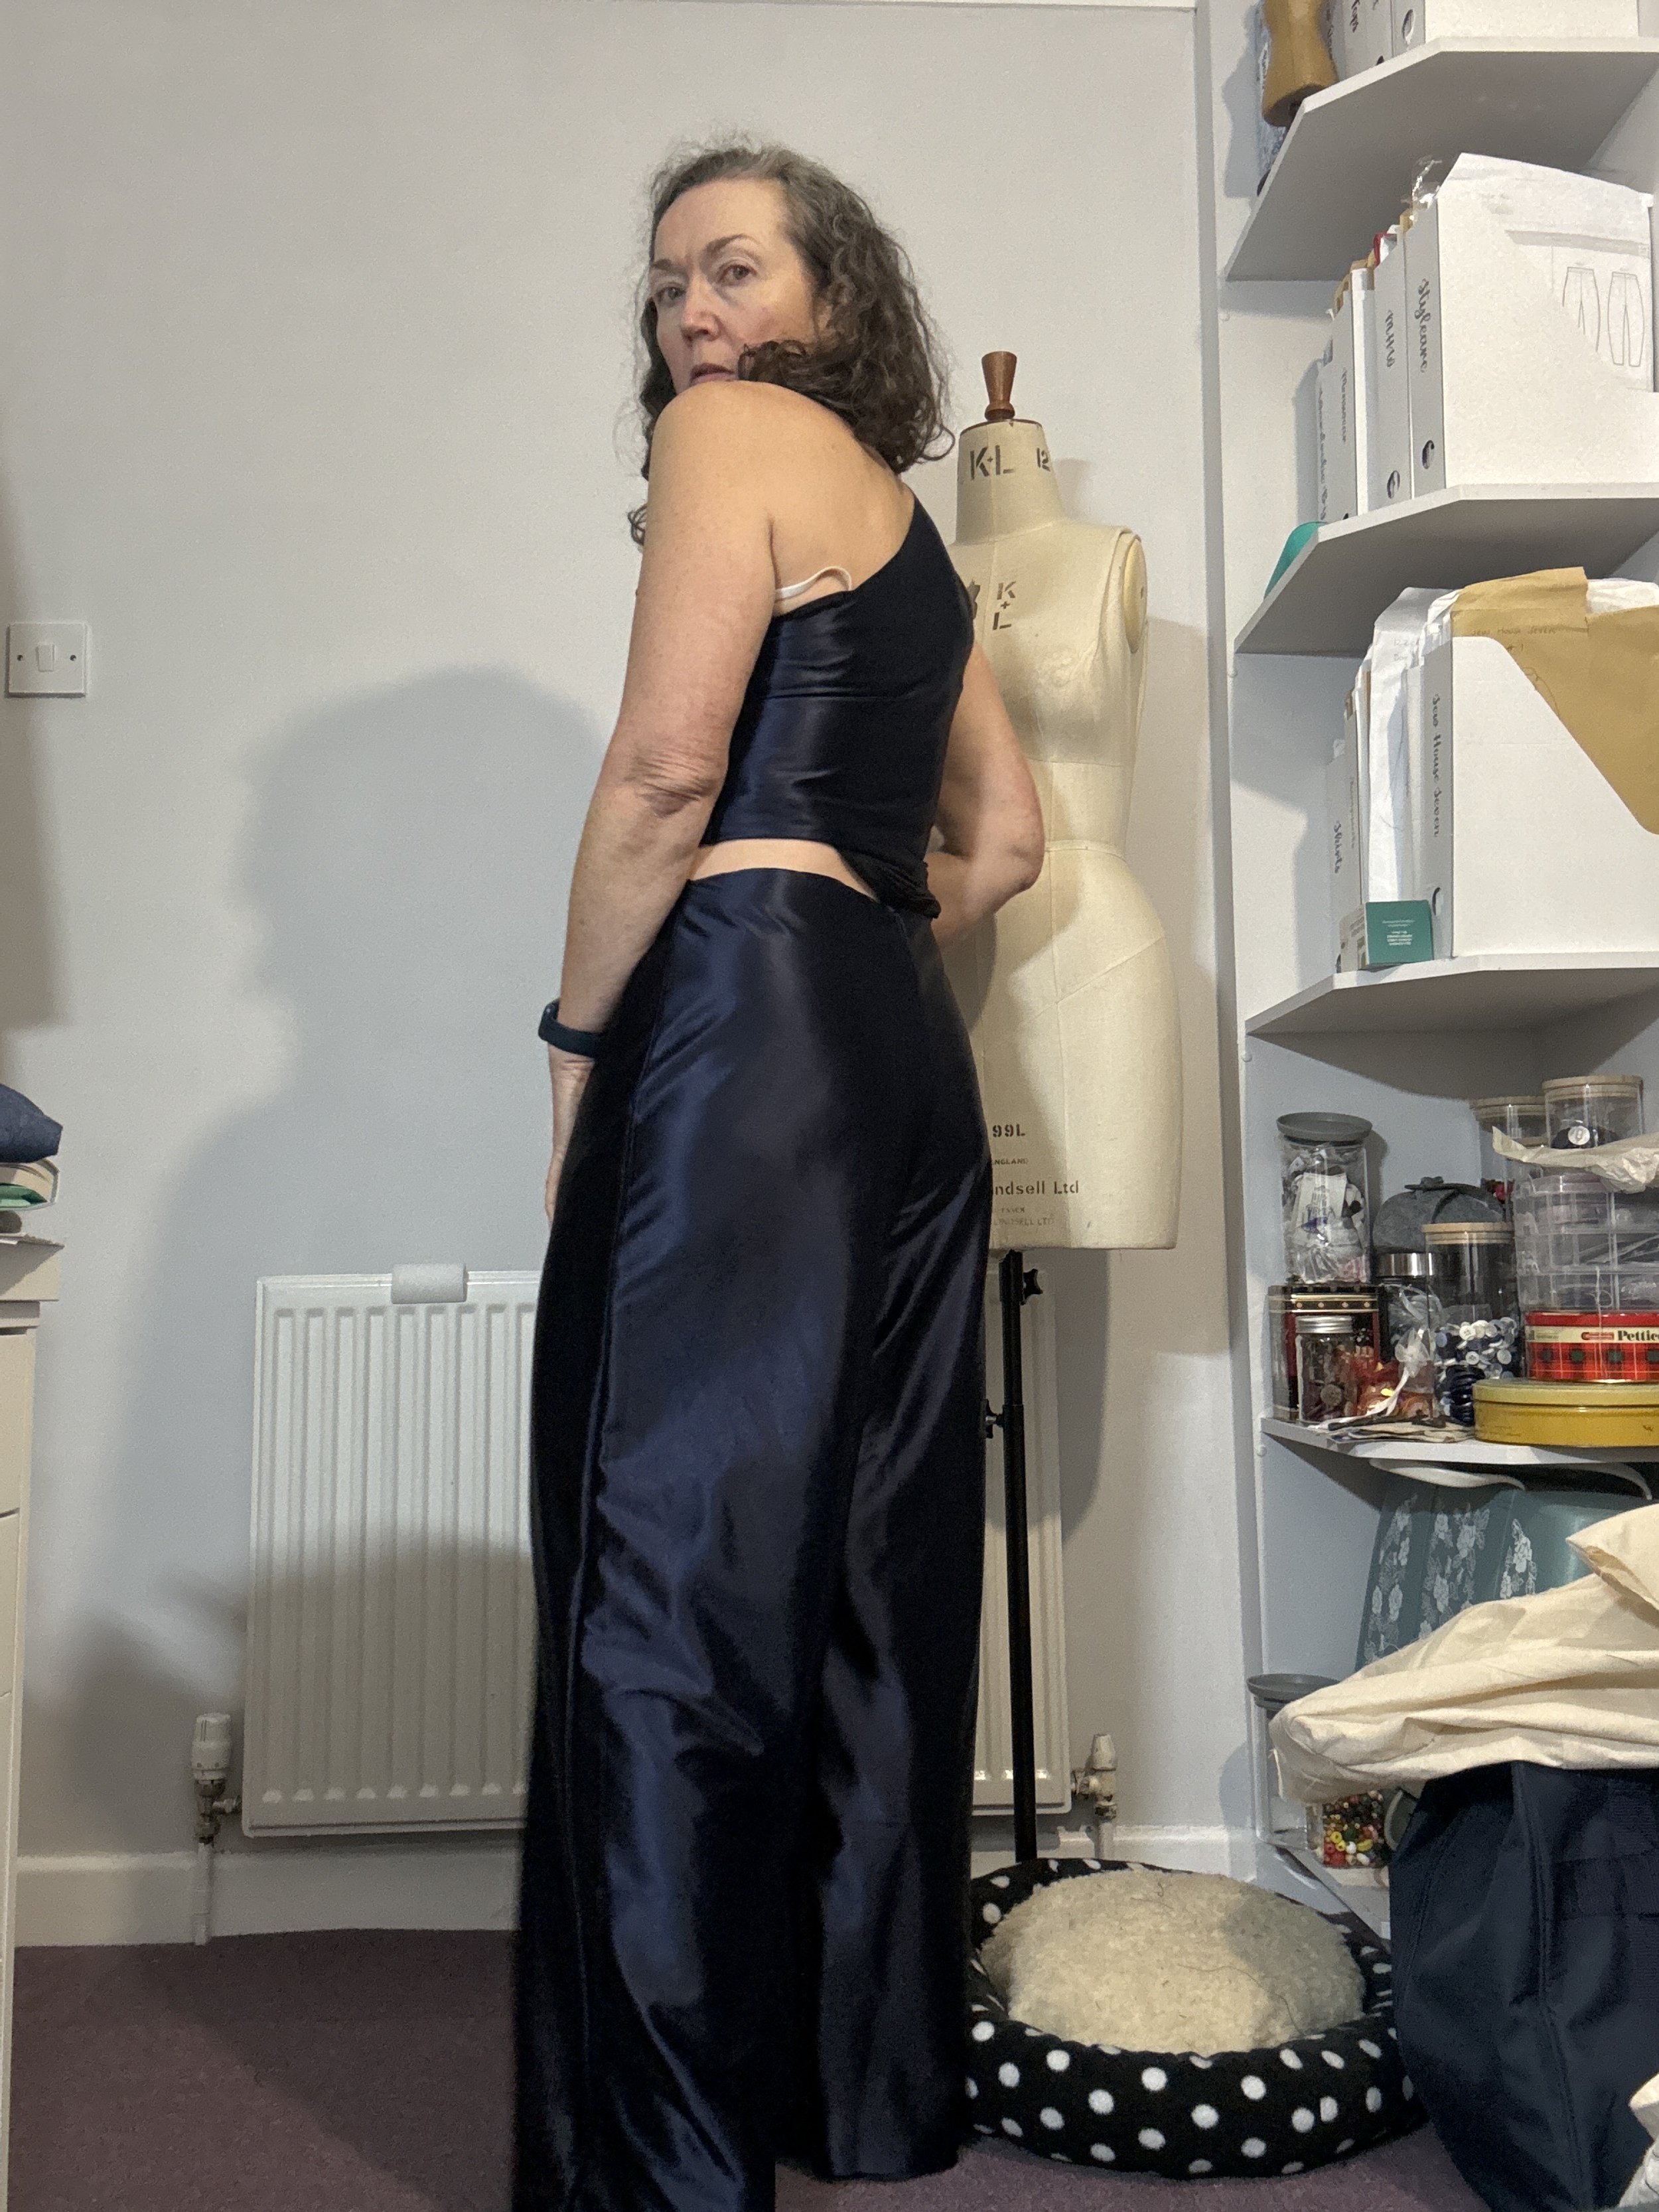
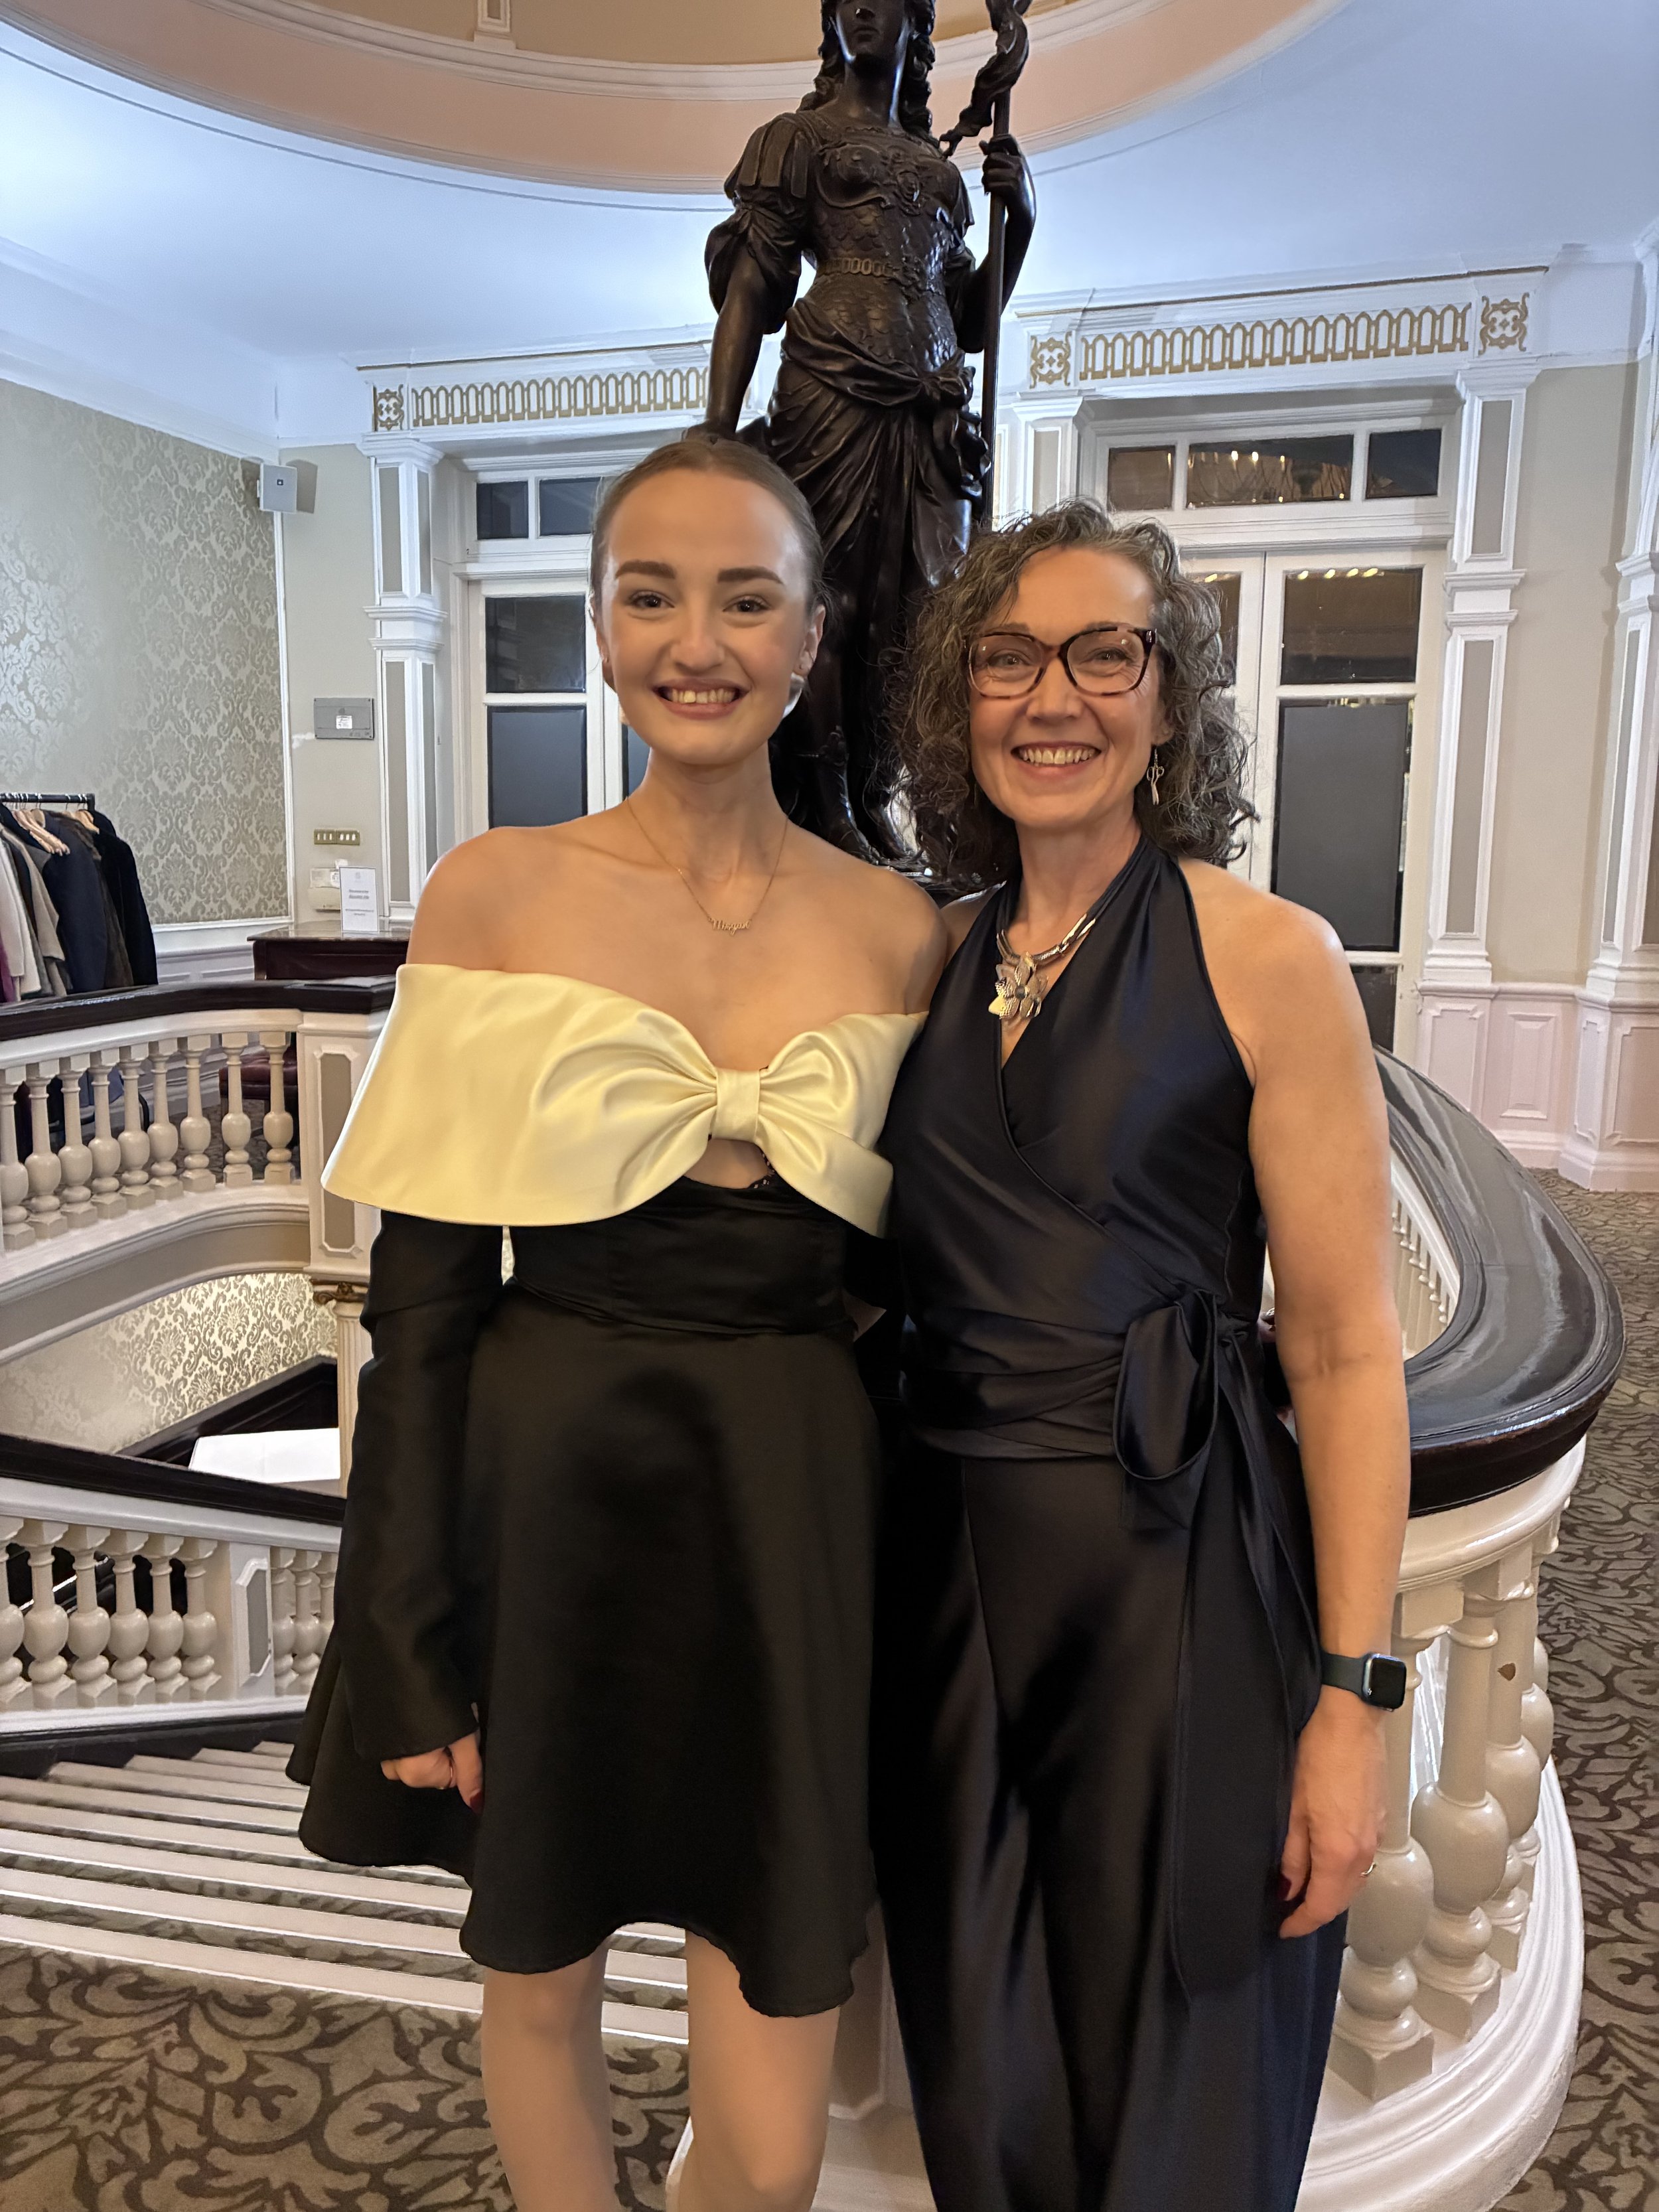
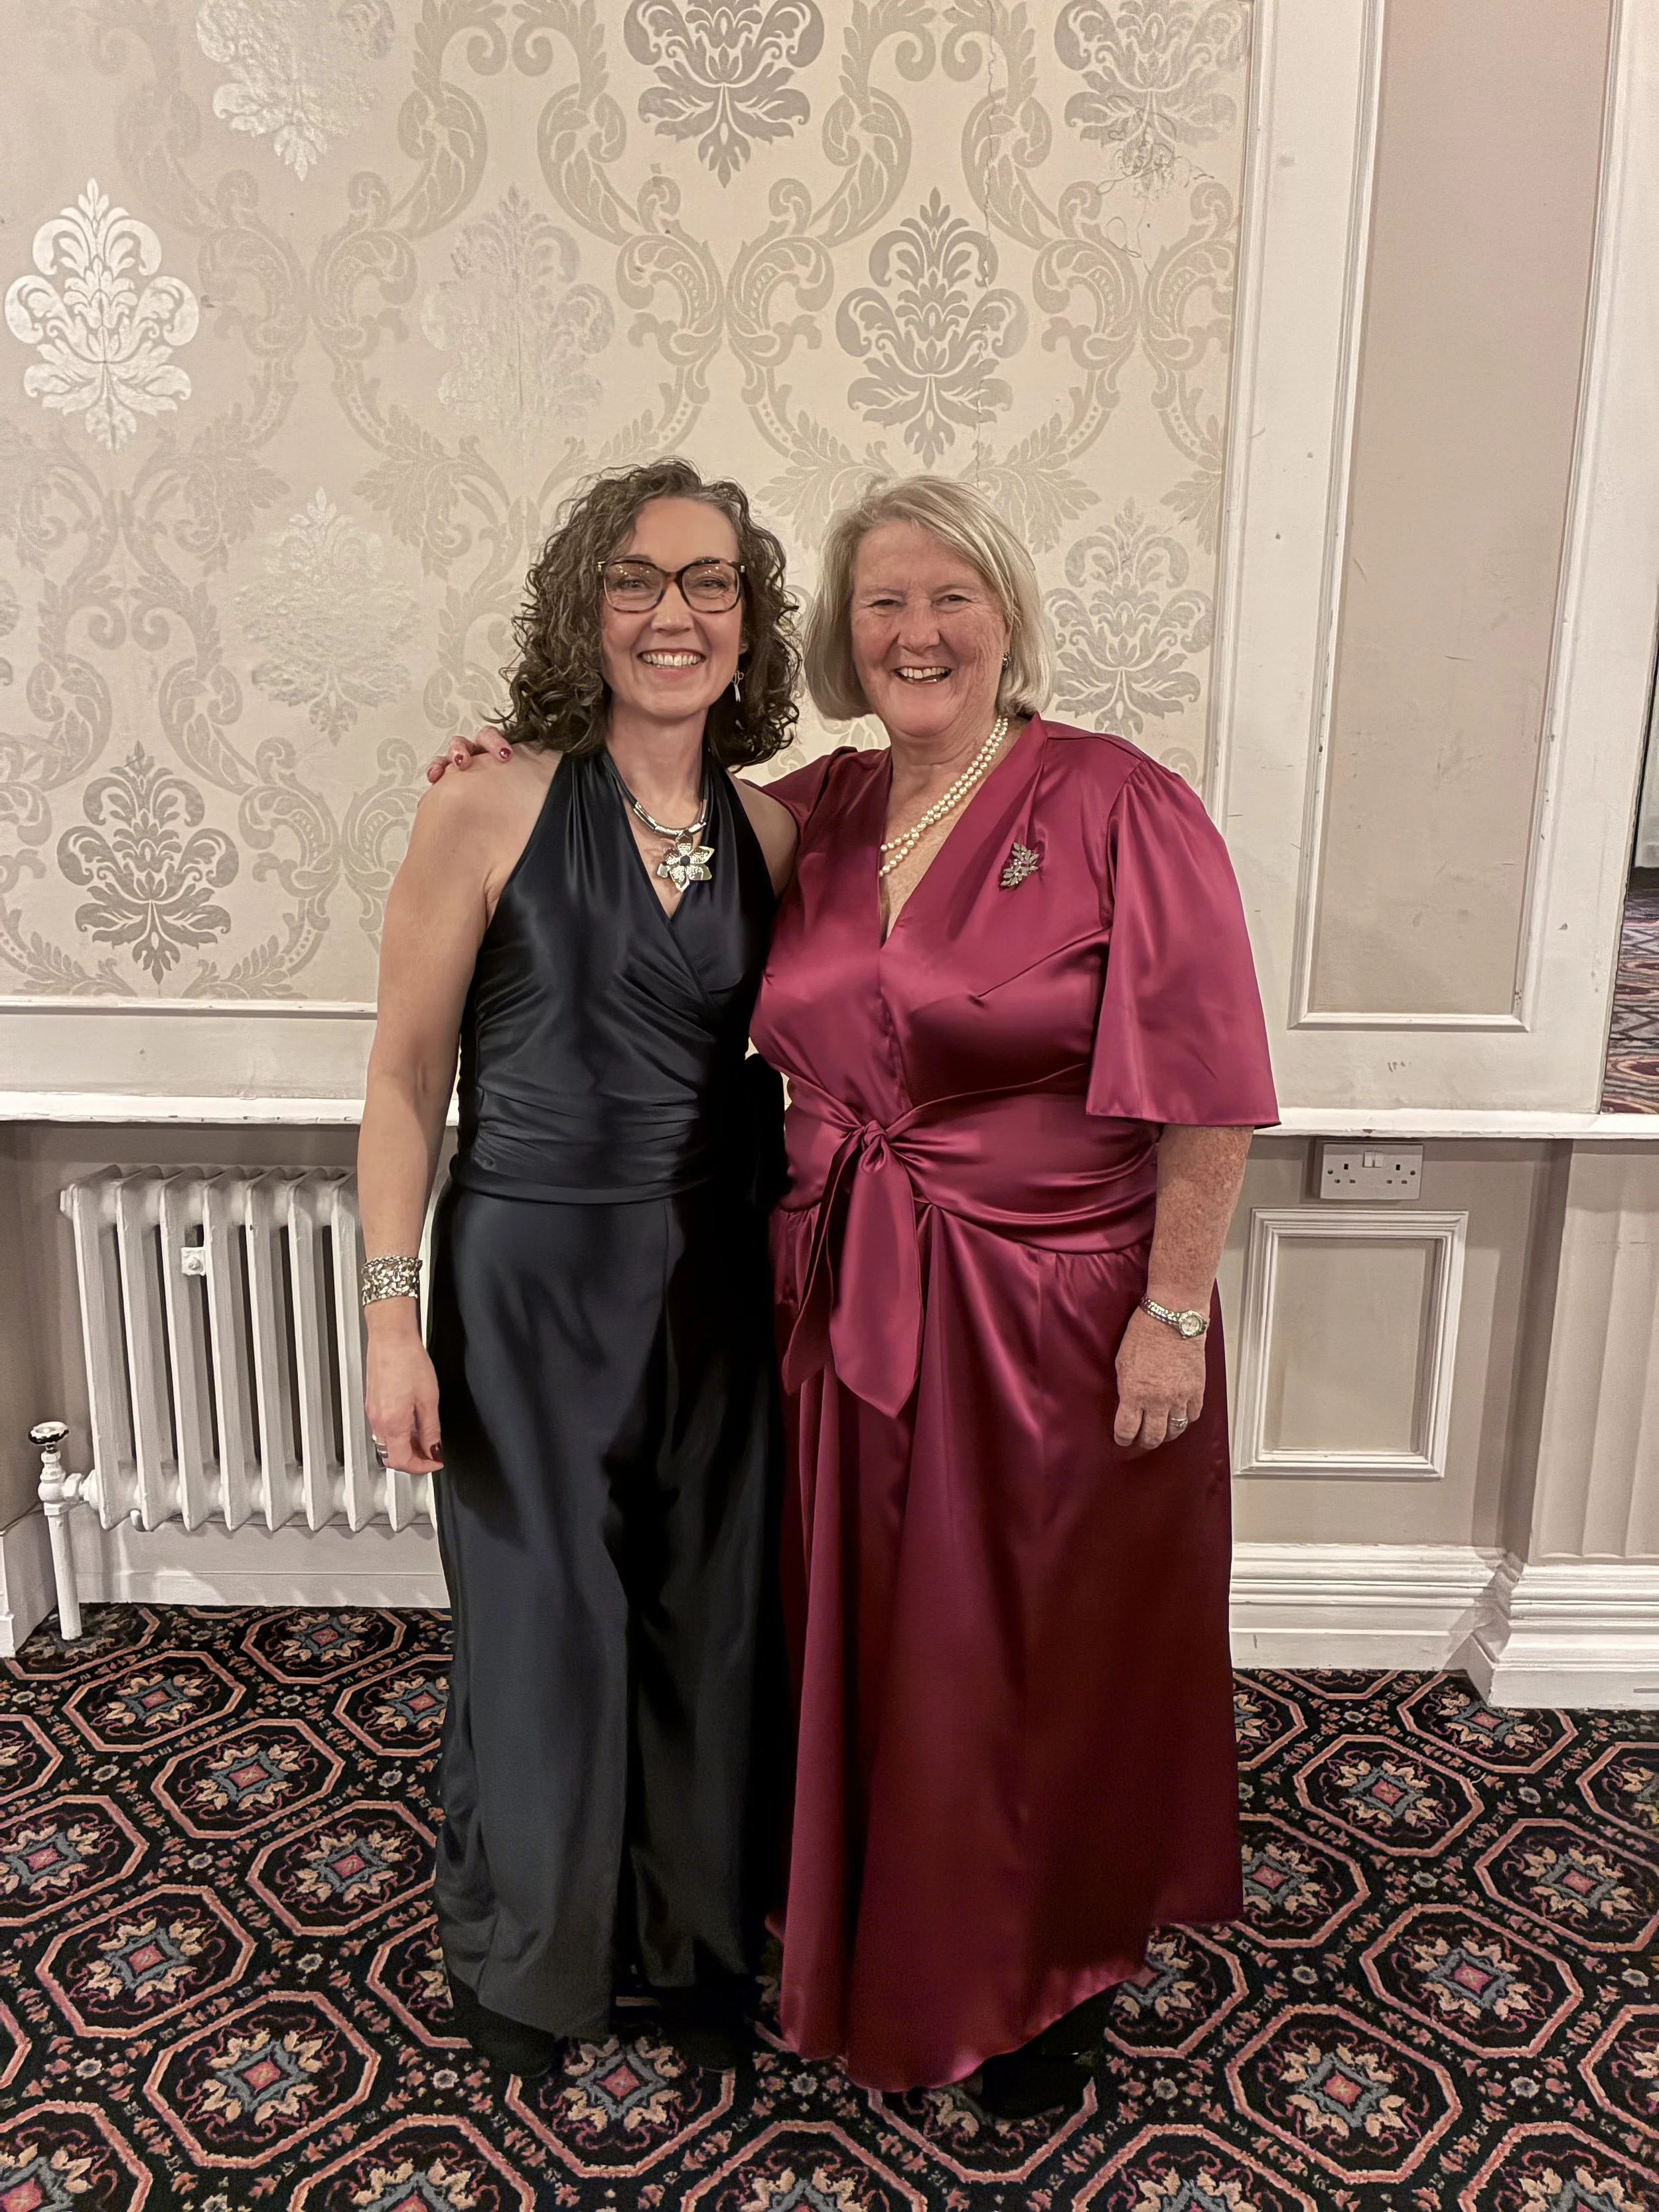
I absolutely loved how my outfit came together. The navy satin jersey caught the light beautifully and had just the right amount of movement when I walked (and danced!). The two-piece design created a faux jumpsuit look and looked chic but was wonderfully comfortable to wear — ideal for an evening of sewing chat, laughter, and twirling on the dance floor.
I was so proud that the final look came from a mix of adaptation, creativity, and quick thinking — proof that even last-minute sewing plans can turn into something special.
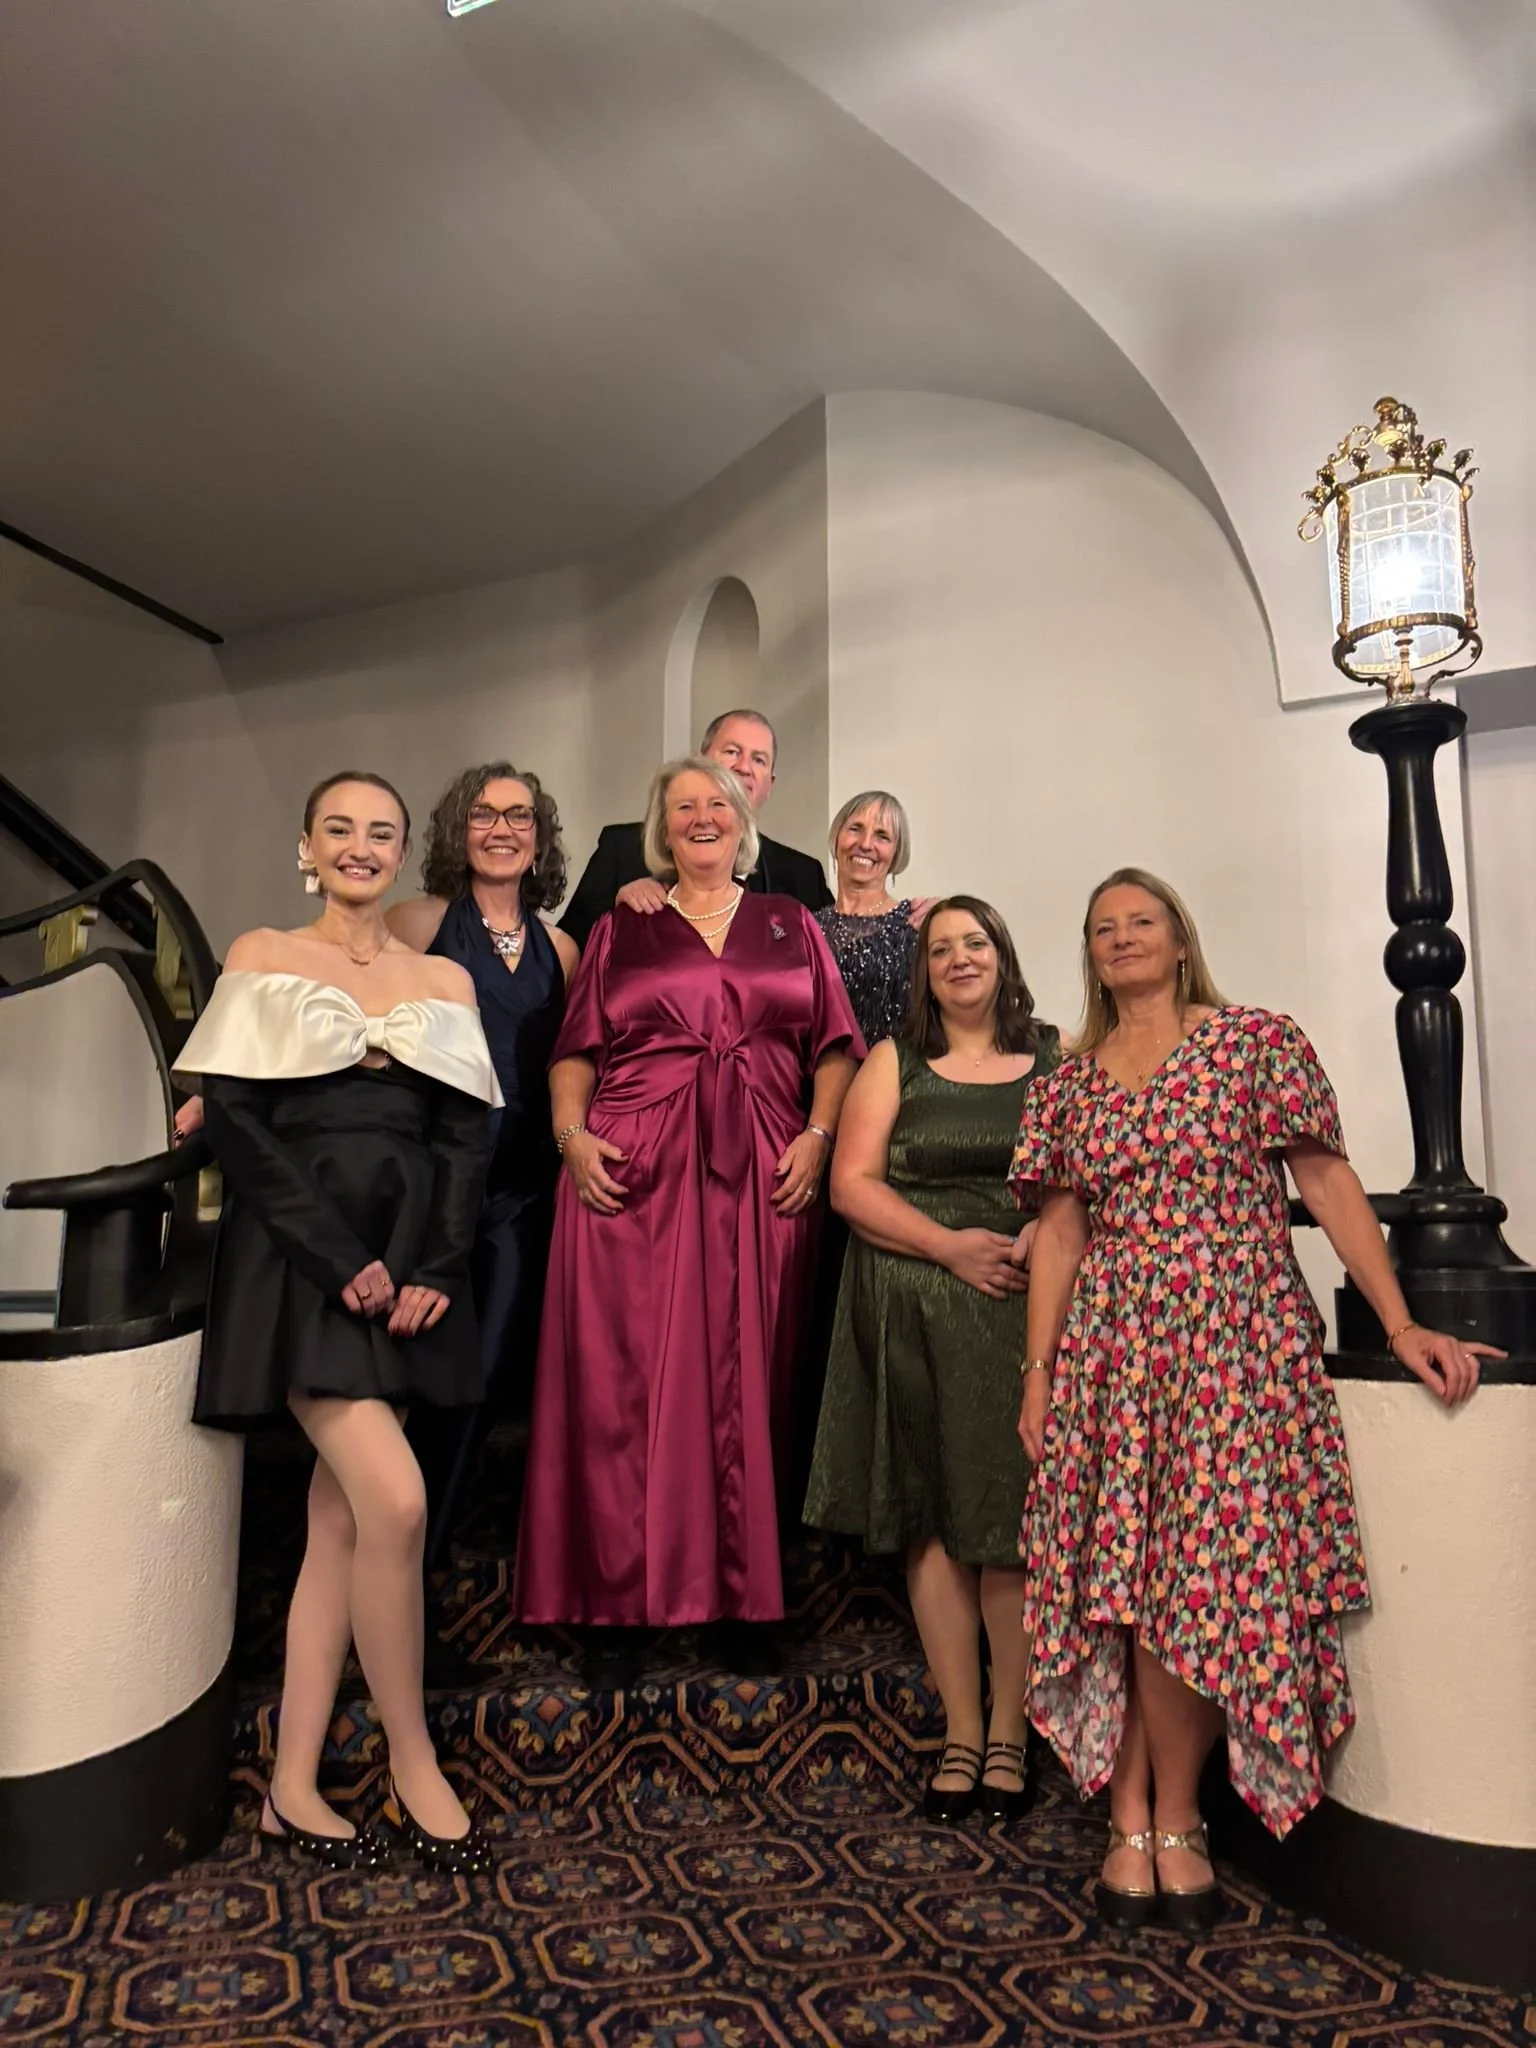
We didn’t take many photos on the night – but here’s a few…..
✂️ Top Tip
When working with knit fabrics, always check the stretch percentage before cutting. It can make all the difference to how your garment fits and functions — especially for pull-on styles!
Looking Back
Attending the Dressmakers Ball always reminds me why I love this craft so much. There’s such joy in seeing everyone’s handmade creations — from intricate couture gowns to clever upcycles and simple, elegant makes.
I felt completely “me” in my outfit — confident, comfortable, and connected to my love of sewing. It wasn’t what I first planned, but it turned out even better than I’d imagined.